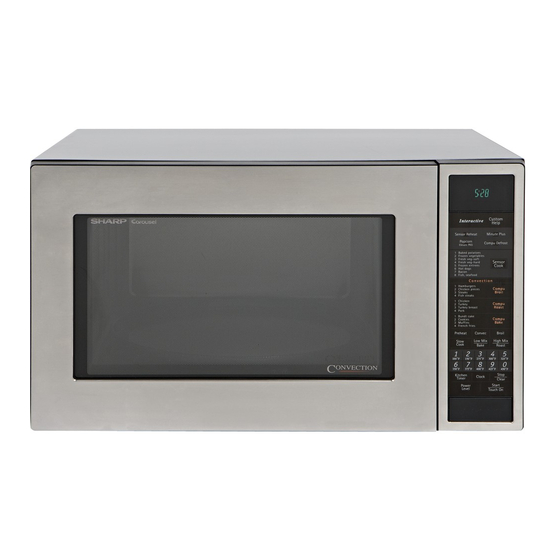
Sharp Carousel R-930CS Manuale di servizio - Pagina 36
Sfoglia online o scarica il pdf Manuale di servizio per Forno a microonde Sharp Carousel R-930CS. Sharp Carousel R-930CS 49. Convection microwave oven
Anche per Sharp Carousel R-930CS: Manuale operativo (32 pagine), Opuscolo e specifiche (8 pagine), Opuscolo e specifiche (5 pagine)

R-930CS
(HEATING ELEMENT/CONVECTION FAN/CONVECTION MOTOR/THERMISTOR)
THERMISTOR REMOVAL
1. Disconnect the power supply cord and then remove
outer case.
2. Open the oven door and block it open.
3. Discharge high voltage capacitor.
4. Disconnect wire leads from H.V. capacitor and remove
four (4) screws holding rear cabinet to bottom plate and
three (3) screws holding to heater unit assembly and two
(2) screws holding steam duct to top of oven cavity.
Disconnect wire leads from power supply cord terminals.
5. Disconnect wire leads from thermistor. Remove two (2)
screws from thermistor.
6. Disconnect wire leads from convection motor, thermal
cut-out and heater element.
7. Remove nine (9) screws holding heater duct to the oven
cavity.
8. Remove two (2) screws holding heater duct to base
cabinet. Release two (2) snap bands holding wire harness
to the thermal cover (convection).
9. The heater unit is now free.
CONTROL PANEL ASSEMBLY AND CONTROL UNIT REMOVAL
To remove the control panel, procedure as follows:
1. Disconnect the power supply cord and then remove
outer case.
2. Open the oven door and block it open.
3. Discharge high voltage capacitor.
4. Disconnect connector CN-A, CN-E and CN-F from the
control unit.
5. Disconnect the wire leads from the relays RY1, RY2 and
RY3.
6. Remove one (1) screw holding the control panel back
plate to the chassis support.
7. Remove two (2) screws holding the bottom edge of the
back plate to the cabinet base.
8. Remove one (1) screw holding the back plate to the oven
cavity flange.
9. Lift up and pull the control panel assembly forward.
Replacement of individual component is as follows;
1. Disconnect the power supply cord and then remove
outer case.
2. Open the oven door and block it open.
3. Discharge high voltage capacitor.
4. Disconnect the wire leads from the fan motor.
5. Remove one (1) screw holding the fan motor grounding
wire to the air guide (Right).
6. Remove three (3) screws holding the chassis support to
the rear cabinet, waveguide and control panel back plate.
7. Remove the chassis support from the oven.
8. Remove one (1) screw holding the magnetron air guide
HEATER UNIT ASSEMBLY REMOVAL
FAN MOTOR REMOVAL
34
HEATING ELEMENT REMOVAL
10.Remove two (2) screws holding heating element to
heater duct.
11.Loosen two (2) screws holding holders to heater duct
and take heating element out of heating element holders.
12.Heating element is free.
NOTE: After installed the heating element completely,
bent top of the heating element holder to inside
using by long nose pliers as shown following
illustration.
CONTROL UNIT AND KEY UNIT
1. Disconnect the wire connector from the control unit.
2. Remove the four (4) screws holding the panel frame to
the back plate.
3. Separate the panel frame and back plate.
4. Remove the three (3) screws holding the control unit to
the panel frame.
5. Lift up the control unit and disconnect the key connector
from the control unit.
6. Now, the control unit and frame assembly are separated.
NOTE; 1. Before attaching a new key unit, remove remaining
adhesive on the control panel frame surfaces
completely with a soft cloth soaked in alcohol.
2. When a attaching the key unit to the control
panel frame, adjust the lower edge and right
edge of the key unit to the correct position of the
control panel frame.
3. Stick the key unit firmly to the control panel
frame by rubbing with soft cloth not to scratch.
to the waveguide.
9. Remove the magnetron air guide from the waveguide.
10.Disconnect wire leads from the fan motor.
11. Release the main harness from the hole of the fan duct.
12. Release the thermistor harness from the hole of the fan
duct.
13. Release one (1) tab holding the fan duct to the rear
cabinet.
14. Release one (1) tab holding the fan duct to the air guide
(Right).
15.Remove the fan duct assembly from the oven.
Long nose plier
Heating
element
Heating element
holder
