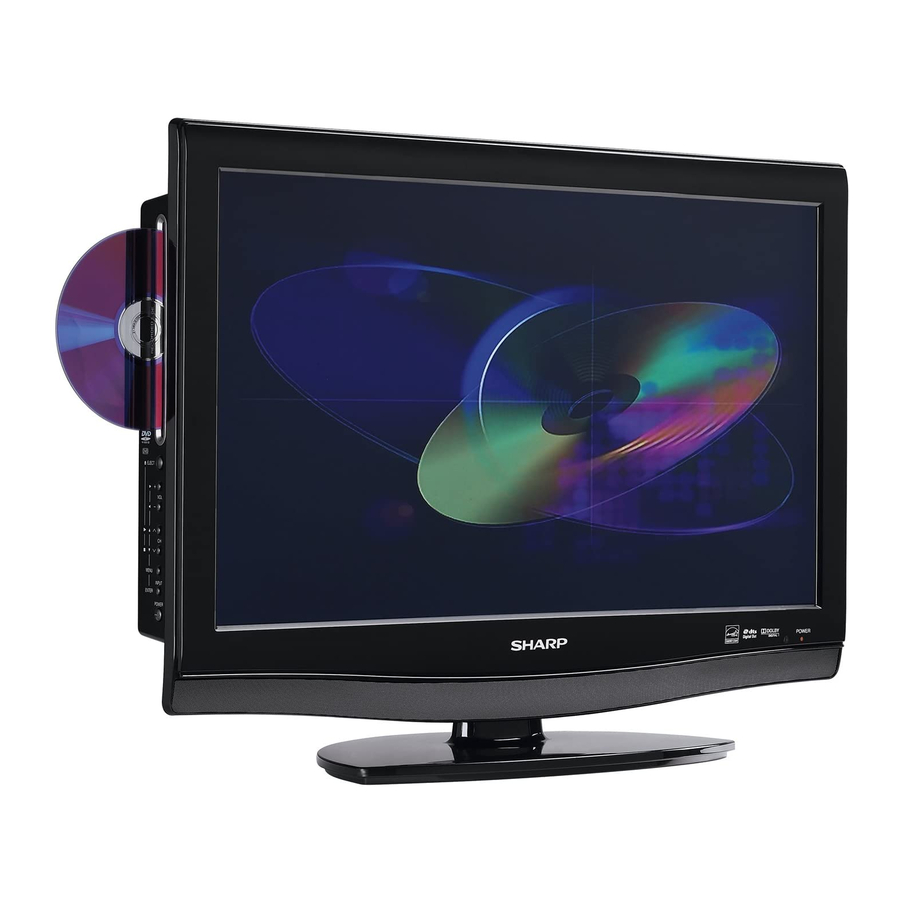
Sharp AQUOS LC-42SB45U Manuale operativo - Pagina 7
Sfoglia online o scarica il pdf Manuale operativo per TV LCD Sharp AQUOS LC-42SB45U. Sharp AQUOS LC-42SB45U 35. Liquid crystal television
Anche per Sharp AQUOS LC-42SB45U: Manuale d'uso (32 pagine), Specifiche tecniche (18 pagine), Manuale di installazione (1 pagine)

QUICK REFERENCE
Supplied Accessories
Make sure the following accessories are provided with the product.
Operation manual
(x 1)
Screws
(x4)
Page 6
Stand
(x 1)
Page 6
AC cord
(x1)
Page 7
00
"M" size battery
(x2)
Page 8
Remote control unit
(x1)
Page 7
1m
• Always use the AC cord supplied with the TV.
• AC cord enclosed in this product is for 11 0-125V. In using it on the 125-240V AC, please consult the following.
SHARP ELECTRONICS CORPORATION, LATIN AMERICA GROUP
6100 Blue Lagoon Drive, Suite 150, Miami, Florida 33126, U.S.A.
Attaching/Detaching the Stand
• Before attaching (or detaching) the stand, unplug the AC cord from the AC INPUT terminal.
• Before performing work spread cushioning over the base area to lay the TV on. This will prevent it from being damaged.
mmm
• Attach the stand in the correct direction.
• Be sure to follow the instructions. Incorrect installation of the stand may result in the TV falling over.
1 Confirm that there are 4 screws supplied with the stand unit.
j;J
~ ~
1J
2
<D
Insert the stand into the openings on the bottom of the TV.
®
Insert and tighten the 4 screws into the 4 holes on the bottom of the TV.
1m
• To detach the stand, perform the steps in reverse order.
Detaching the stand neck for wall mounting
mmm
• Detach the stand neck in the correct direction.
• Do not remove the stand neck from the TV unless using an optional wall mount bracket to mount it.
1
<D
Loosen the 4 screws that secure the stand neck
1 - - - - -....
by using a cross-head screwdriver.
®
Remove stand neck from the TV set.
2 Loosen the 4 screws and pull out hinge plate.
3
<D
Place the hinge plate in the TV set as illustration
shown.
®
Place the stand cover in the TV set and tighten
the 4 screws into the 4 holes.
3
1m
• To attach the stand neck, perform the steps in reverse
order.
@-
6
