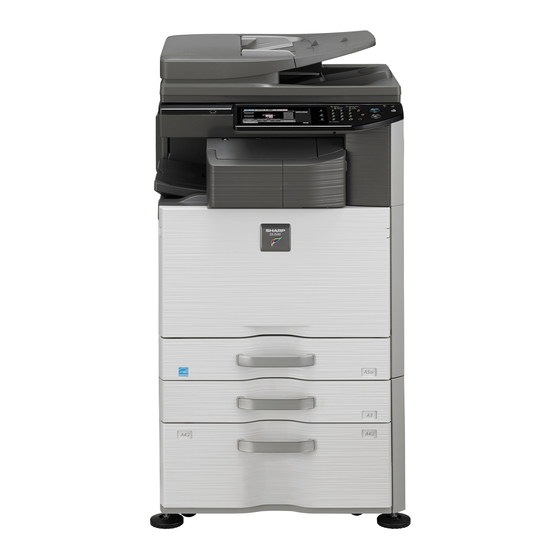
Sharp DX-2500N Manuale di configurazione del software - Pagina 26
Sfoglia online o scarica il pdf Manuale di configurazione del software per Stampante All in One Sharp DX-2500N. Sharp DX-2500N 43.

INSTALLING THE PRINTER DRIVER / PC-FAX DRIVER
CONFIGURING THE PRINTER DRIVER FOR THE
OPTIONS INSTALLED ON THE MACHINE
After installing the printer driver, you must configure the printer driver settings appropriately for the options that have
been installed and the size and type of paper loaded in the machine. Follow the steps below to configure the printer
driver.
• If the PPD driver is installed, see "When the PPD driver is installed" (page 26).
• Depending on the models, Sharp Advanced Printing Language-c printer driver may not be available.
When the PCL printer driver, Sharp Advanced Printing Language-c
printer driver or PS printer driver is installed
1
Click the [Start] button (
[Control Panel], and then click [Devices
and Printers] (or [View devices and
printers]).
In Windows 8/Server 2012, right-click in the startup
window (or swipe upward from the bottom edge), then
select [Taskbar] → [All Applications] → [Control Panel]
→ [Devices and Printers] → [Printers].
2
Open the printer properties window.
(1) Right-click the printer driver icon of the
machine.
(2) Select [Printer properties].
3
Click the [Configuration] tab.
24
), click
4
Click the [Auto Configuration] button.
The settings are automatically configured based on the
detected machine status.
If the machine is being used on an IPv6 network, you
must configure the options manually as explained in "If
automatic configuration fails" (page 25).
5
Configure the image of the machine.
An image of the machine is formed in the printer driver
configuration window based on the options that are
installed.
(1) Select the options that are installed on
the machine.
(2) Click the [OK] button.
To cancel the image settings, click the [Cancel]
button.
6
Click the [OK] button in the printer
properties window.
