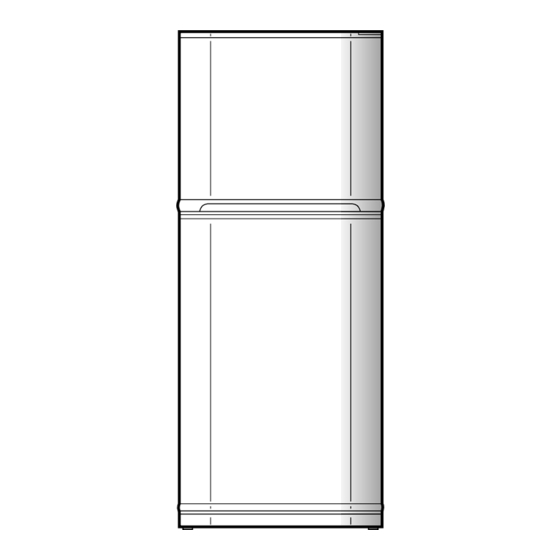
Sharp SJ-51H-S Manuale di servizio - Pagina 12
Sfoglia online o scarica il pdf Manuale di servizio per Frigorifero Sharp SJ-51H-S. Sharp SJ-51H-S 28.

SJ-48H-S
SJ-51H-S
SJ-55H-S
MODIFICATION PROCEDURE OF THE DOOR OPEN SIDE
It is possible to change the door to left side opening.
To modify the door to left side opening, REFRIGERATOR HINGE KITS (for left side opening) SJ-L815HD (optional item )is necessary.
SJ-L815HD OPERATION MANUAL
REFRIGERATOR HINGE KITS (for left side opening)
Model
SJ-L815HD
These kits are used to change the refrigerator doors from right to left opening.
If you wish to change the door to left opening for some reason, such as restricted installation
space, ask your authorized service agent for this modification.
Parts list
A
B
Bottom hinge L
E
Nylon bearing (for lower door)
Tools required
Cross head and flat blade screwdrivers
Socket wrench or spanner (8 mm) (The socket wrench or spanner is used to detach and attach hinges.)
Caution
Caution should be taken when handling the doors. These are heavy and could cause personal injury if mis-handled.
Always tighten screws securely.
Reattach the door paying careful attention to the door alignment.
Failure to fit the door correctly might cause cooling air to leak out and lower the refrigerating capability.
Fitting Instruction
Symbols used in the drawing have the following meanings.
1 - 18 : Modification procedure No.
: Detach/Attach
: Move
1.
Remove the evaporating pan cover, upper hinge cover, and 2 screw covers.
(Carefully remove the upper hinge cover using a screwdriver, making sure that the door cap is not damaged.)
2.
Remove the upper hinge and detach the upper door. (To remove the door, lift it off the center hinge.)
3.
Remove the center hinge and lift the lower door off the bottom hinge.
4.
Remove the bottom hinge and spacer.
5.
Remove the nylon bearing and bearing cap on the top of each door and attach the parts D, E, and F.
6.
Remove the door stopper and stopper spring on the bottom of each door.
7.
Remove the screw on the left of the door bottom and make a hole with a screwdriver for the insertion of the stopper spring.
8.
Attach each door stopper and the parts B and C.
9.
Apply silicon grease J to the shaded portion
10. Insert the lower door and fit the center hinge. If the washer is provided, install it ON top. Tighten the screws temporarily.
11. Fit the upper door and attach the upper hinge. Tighten the screws temporarily.
12. Adjust the alignment of the door. Ensure that the gap between the cabinet and door cap is 11.3 mm. Tighten the upper hinge screws.
13. Secure the upper door. Open the lower door and tighten the center hinge screws. (No drawing is provided.)
14. Check that the distance to activate the door switch is correct and that each door opens and closes smoothly.
To readjust the door position, loosen the center and bottom hinges.
15. Apply silicon grease J to the shaded portion
16. Attach the parts G and H.
17. Fit the cap in the evaporating pan cover into the notch on the right.
18. Reattach the evaporating pan cover and upper hinge cover.
19. After the above steps have been completed, check that each door functions correctly and that the interior lamp lights up and goes off when
the door is opened and closed. (No drawing is provided.)
Stopper spring L (for upper door)
G
F
Bearing cap
of the part A and attach it to the left side together with the spacer.
of the door packing.
C
Stopper spring L (for lower door)
H
Screw cover (2 pieces)
Screw cover
12
D
Nylon bearing (for upper door)
J
Silicon grease
