AV3 and PRO3
3-Series® Control System
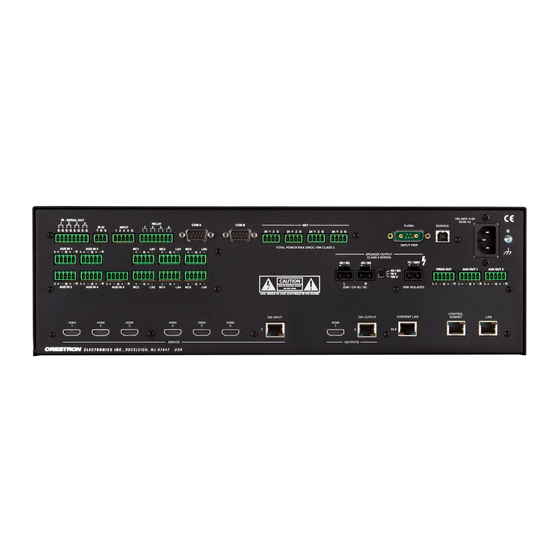
COM 1-2 Connections
PORT
RS-232
G|G
GND
TX|TX-
TX (from AV3/PRO3)
RX|RX+
RX (to AV3/PRO3)
RTS|TX+
RTS (from AV3/PRO3)
CTS|RX-
CTS (to AV3/PRO3)
1. RS-422 transmit and receive are balanced signals requiring two lines plus a ground in
each direction. RXD+ and TXD+ should idle high (going low at start of data
transmission). RXD- and TXD- should idle low (going high at start of data
transmission). If necessary, RXD+/RXD- and TXD+/TXD- may be swapped to maintain
correct signal levels.
2. A ground terminal connection is recommended but not required. Ground potential
difference must be under ±4 V.
Connect the Control Subnet
The control system has a dedicated Control Subnet used for
communication between the control system and Crestron Ethernet
devices. This subnet allows for communication without interference from
other network traffic on the LAN.
NOTE:
Do not connect the CONTROL SUBNET port to the LAN. The
CONTROL SUBNET port must only be connected to Crestron
Ethernet devices.
1
RS-422
RS-485
2
GND
GND
TX- (from AV3/PRO3)
TX-/RX-
RX+ (to AV3/PRO3)
Not used
TX+ (from AV3/PRO3)
TX+/RX+
RX- (to AV3/PRO3)
Not used
Configure the Device
The control system can be configured using Crestron Toolbox™ software,
the built-in, web-based setup tool, or (on the PRO3 only) the front panel
controls.
Configure with Crestron Toolbox
To use Crestron Toolbox to establish communication and configure the
control system, refer to the Crestron Toolbox help file.
Configure with the Web-based Tool
1. Use Crestron Toolbox to set the time zone. For details, refer to the
Crestron Toolbox help file.
2. Use Internet Explorer® to navigate to http://xxx.xx.xx.xxx/setup,
where xxx.xx.xx.xxx is the IP address of the control system. The control
system's welcome screen is displayed.
Quick Start
5