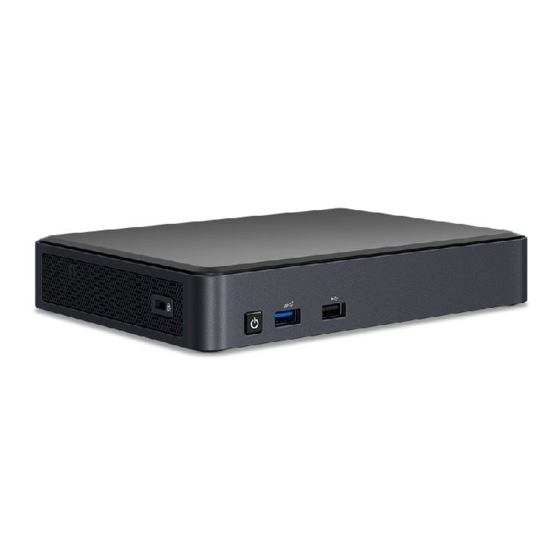
Digital Barriers EDGEVIS VIDEO ROUTER 4 Manuale di installazione dell'hardware - Pagina 6
Sfoglia online o scarica il pdf Manuale di installazione dell'hardware per Router di rete Digital Barriers EDGEVIS VIDEO ROUTER 4. Digital Barriers EDGEVIS VIDEO ROUTER 4 16.

EDGEVIS VIDEO ROUTER HARDWARE INSTALLATION
Powering the Encoder and switching it on/off
To switch the unit on simply connect the output cable from the AC/DC adapter to the DC input connector on the front
panel of the EdgeVis Video Router and connect the AC/DC adapter to the mains power outlet.
Default communications port IP Addresses
For ease of deployment each connection method on the EdgeVis Video Router is pre-configured with a static IP
address:
Port
LAN 1
LAN 2
USB to Ethernet
Connecting IP cameras
The EdgeVis Video Router allows for connection of multiple IP cameras via the Ethernet ports located on the front of
the unit. The cameras should be connected to the device using standard Ethernet cable.
Refer to Section 2 of the EdgeVis Encoder and MiniCam Setup Guide for details on configuring the Ethernet ports
and IP cameras to work together. The list of specific cameras supported on the IP Series of products can be found on
the Support site:
http://tvi-support.digitalbarriers.com
Storage medium
The EdgeVis Video Router can record video to the internal drive or an external USB storage device. For further details
on how to properly prepare a recording disk refer to Section 2 of the EdgeVis Encoder and MiniCam Setup Guide.
Approved external USB storage drives are specified in Appendix B. USB storage will work on any USB port, however,
USB 3.0 ports are recommended for improved performance.
ISSUED: 29 NOVEMBER 2022
Default IP Address
192.168.10.1
192.168.11.1
192.168.20.1
Subnet mask
255.255.255.0
255.255.255.0
255.255.255.0
PAGE 6
