Digital Foci Image Moments Manuale di avvio rapido - Pagina 2
Sfoglia online o scarica il pdf Manuale di avvio rapido per Monitor Digital Foci Image Moments. Digital Foci Image Moments 2. Image moments digital picture display

Back View
Display Control Buttons
Card
Slots
Built-in
Speakers
Power Switch
AC Adapter Jack
Getting Image Moments Ready for Use
Attaching the Leg
Locate the detachable leg in the packaging.
Screw it into the detachable leg port on
the back of Image Moments just under
the middle part that slightly sticks out.
Powering Image Moments
Plug the AC adapter to the AC Adapter Jack on
the back of Image Moments.Next,connect the
power plug of the adapter to a wall socket.
Now you can power on Image Moments by
flipping the Power Switch to the up position.
Preparing the Remote Control
Pull on the protective tab between the battery
and battery terminal to activate the battery.
Inserting Memory Cards
Insert your memory card in the designated
memory card slot with the label side facing
the front.
Refer to the Side View illustration above for
the correct card slot designations.
Selecting from Multiple Memory Cards
When more than one memory card is inserted
in Image Moments, you can choose which
card to access by navigating to the Mode
Select screen (top of menu) and pressing
the CARD button on the remote control.
Adjusting the Video Settings
On Image Moments, you can adjust the
brightness, contrast, sharpness, and RGB
color levels of the screen.
1. Press the Menu button on the top of
Image Moments to display the Video
Settings screen.
2. Press the Select UP/DN buttons to navigate
the highlight up and down among the
Video Setting options. Press Menu again
to select the highlighted item.
3. Use the Value +/- buttons to adjust the
value of the selected setting. The effect
of your adjustments will be visible on
the screen in real-time.
Top View
Menu
Value -/+
Select DN/UP
Version 1.3
Device Layout
Remote Control
Sensor
8" Color
LCD Screen
Video/Audio
Input
Detachable Leg
Video
Setup
Setting
Photo
Thumbnail
Display
Photo
Display
Music Slideshow Mode
All Photos & Music
Playing ALL the Contents of Your
Memory Card Automatically:
1. Turn on Image Moments.
2. Insert your memory card.
All of the contents on your card will start
playing automatically in alphabetical order.
Displaying Photos:
Photo Thumbnail Display view:
Press PHOTO on the remote control to view
thumbnail images of your photos.
Use the Control Pad buttons to navigate
the cursor over the thumbnails.
Press PREV or NEXT to jump to the
previous or next page of thumbnails.
Press PLAY/PAUSE on the highlighted
thumbnail to display the photo full screen.
Photo Display view:
This view displays your photos full screen.
Press PREV or NEXT to navigate to the
previous and next photo.
Press ROTATE or ZOOM to rotate or
zoom the photo.
Playing a Photo Slideshow of All the
Photos on Your Memory Card:
1. Press PHOTO on the remote control.
2. Press PLAY/PAUSE to start the slideshow.
Note: You might need to press PLAY/PAUSE
again to start the automatic slideshow if
Slideshow Mode is set to Manual. (See
Section 5.4 Slideshow Setup in the User's
Guide for more details.)
Side View
Memory Stick/
SD/MMC Slot
SmartMedia Slot
CompactFlash/
MicroDrive Slot
Classic
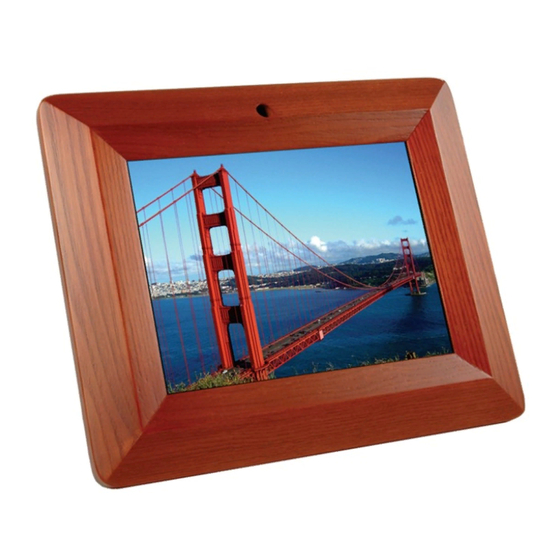
Wooden Frame
Screen Flow Diagram
Mode
Card
Select
Select
Video
Music
Thumbnail
Library
Library
Display
Music
Video
Equalizer
Playback
Playback
Music Slideshow Mode
Selected Folder Only
Remote Control Layout
Setup Menu
Mode Select
Display
Settings
Track/Seek
Select
Effect Select
Audio Control
Selecting Playing Mode
You can use the PHOTO, MUSIC, VIDEO, and
FILE mode select buttons on the remote
control to access each mode directly.
Photo Mode, Music Mode, Video Mode
When Photo, Music, or Video Mode is
selected, Image Moments will scan through
File
the selected memory card and show only
the photo files, MP3 music files, or video files.
File Mode
File
When File Mode is selected, Image Moments
will show the FILE LIBRARY screen where
your can navigate through the directory on
the selected memory card.
As you highlight each file, a preview of the
highlighted file will be displayed.
Playing a Slideshow of All the Photos on
Your Memory Card with Background Music:
1. Press PHOTO on the remote control.
2. Press SLIDESHOW.
All of the photos on your memory card will
play as a slideshow and any MP3 songs on the
memory card will play in the background.
Note:To add background music for the slideshow,
copy your own MP3 files onto the memory card.
Playing a Photo Slideshow with Music
from a Specific Folder Only:
1. Press FILE on the remote control.
2. Use the Control Pad to navigate to and select
the desired folder.
3. Press SLIDESHOW.
The photos contained in this selected folder
will play as a slideshow along with any MP3
files located in the selected folder.
Note: The MP3 file you want to play in the
background must be located in the selected folder.
If there is no MP3 file present, no music will play.
Changing Slideshow Settings:
You can change the slideshow settings on-the-fly
while the slideshow is playing.
Press SLIDE INTERVAL to change the timing for
changing slides among 1, 3, 5, and 10 seconds.
Press EFFECT to change the screen transition
effect.
Press REPEAT to change the repeat setting.
Read the User's Guide to learn more about operating
your Image Moments, and tips on how to organize your
photos for Image Moments for optimal use.
Display
Toggle
Card Select
Music
Slideshow
Slide Interval
Select
Control
Pad
