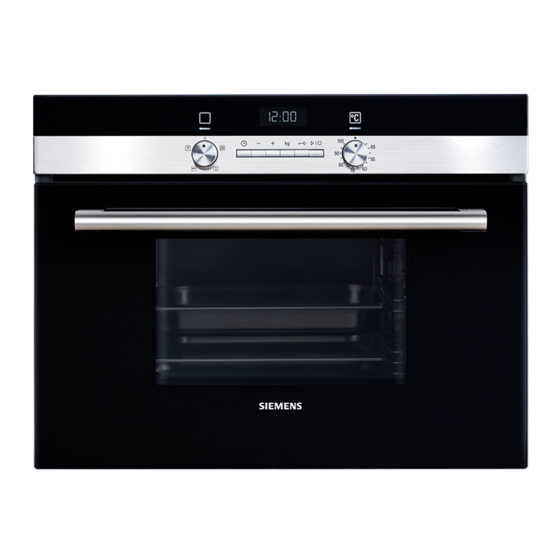
Siemens HB24D555W Manuale di istruzioni - Pagina 17
Sfoglia online o scarica il pdf Manuale di istruzioni per Forno Siemens HB24D555W. Siemens HB24D555W 28.

Removing the door panel
Note: Before removing, make a note of the orientation in which
the door panel is fitted, so that it is not refitted the wrong way
round.
Unhook the appliance door and lay it on a soft, clean surface
1.
with the front side facing downwards (see section: Removing
and installing the appliance door).
Unscrew the cover at the top left and right of the appliance
2.
door and detach it (figure A).
Lift the door panel and remove it (figure B).
3.
Cleaning
Clean the door panel with glass cleaner and a soft cloth.
Caution!
Do not use any sharp or abrasive medium or a glass scraper.
The glass could be damaged.
Fitting the door panel
Slide in the door panel all the way.
1.
Put the cover back in place and screw it in.
2.
Refit the appliance door.
3.
Cleaning the rails
The rails can be removed for cleaning.
:
Risk of burning due to hot components in the cooking
compartment!
Wait until the cooking compartment has cooled down.
Troubleshooting
Malfunctions often have simple explanations. Please read the
following instructions before calling the after-sales service.
Repairs may only be carried out by fully trained after-sales
service technicians. Incorrect repairs to your appliance may
present considerable risks for the user.
Problem
The appliance does not work
Detaching the rails
Note: Swing the front of the rail as far as possible (until you feel
resistance), because otherwise the appliance side panel may
become bent.
Carefully press the front of the rail upwards until it becomes
1.
detached, and release it from the holder at the side (fig. A).
Detach the rail from the holder and remove it (fig. B).
2.
Clean the rails with washing-up liquid and a sponge/brush
3.
or
Clean the rails in the dishwasher.
Attaching the rail
Position the rail so that the indentations are facing upwards.
1.
Hook the rail in at the back and push it towards the rear until
2.
it engages (fig. C).
Hook the front of the rail onto the holder and press down until
3.
it engages and is fixed level in place in the appliance once
more (fig. D).
Each set of rails only fits on one side.
:
Work on the appliance electronics may only be performed by
■
a specialist.
Always disconnect the appliance from the power supply
■
when work is carried out on the electronics. Switch off the
circuit breaker or remove the fuse from your household fuse
box.
Possible cause
The plug is not plugged into the mains
Power cut
Faulty circuit breaker
Faulty operation
Risk of electric shock!
Notes/remedy
Connect the appliance to the electricity
supply
Check whether other kitchen appliances
are working
Check in the fuse box to make sure that
the circuit breaker for the appliance is OK
Switch the appliance off using the circuit
breaker in the fuse box. Wait approxi-
mately 10 seconds and then switch it back
on
17
