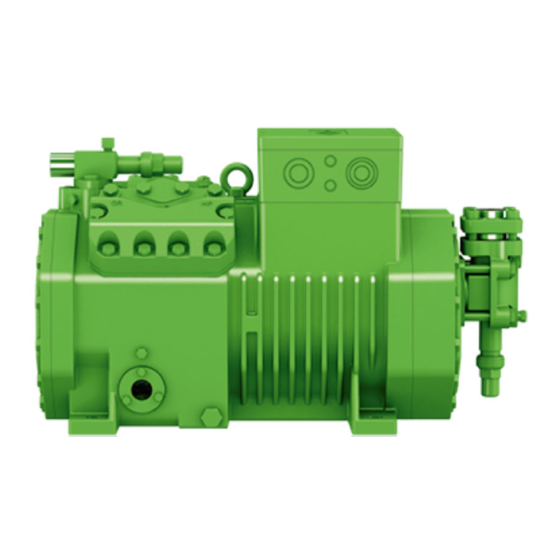
Bitzer 4FHC-5K Informazioni tecniche - Pagina 7
Sfoglia online o scarica il pdf Informazioni tecniche per Strumenti di misura Bitzer 4FHC-5K. Bitzer 4FHC-5K 8.

• Schraube (M20x1,5) am Lager -
deckel ausschrauben und Gewin -
de loch reinigen.
• Glaskegel der Prisma-Einheit innen
und außen auf Sauberkeit prüfen
und ggf. reinigen.
• Prisma-Einheit mit Metall-Dich tung
in den Lager deckel einschrauben.
Anzugs moment ca. 75 Nm.
• Opto-elektronische Einheit sorgfäl-
tig in die Prisma-Einheit bis zum
Anschlag einschieben und
Schraub kappe von Hand fest
anziehen.
Achtung!
!
!
Ausfall des Schutzgeräts mög-
lich!
Unmittelbar vor dem Einschrau -
ben der opto-elektronischen
Einheit sicherstellen, dass die
Prisma-Einheit trocken ist!
Kondenswasser sorgfältig entfer-
nen!
Achtung!
!
!
Gefahr von Verdichterausfall!
Zerstörung des Schutzgeräts
durch eintretende Feuchtigkeit
möglich!
Sicherstellen, dass der
Kabelanschluss immer nach
unten weist!
• Opto-elektronische Einheit keines-
falls demontieren!
KT-180-4
• Remove the screw (M20x1,5) at
the bearing cover and clean the
threaded hole.
• Check if glass cone of prism unit is
clean on inside and outside and
clean if necessary.
• Fit the prism unit with metal gasket
into the bearing cover. Tightening
torque approximately 75 Nm.
• Slide the opto-electronic unit care-
fully into the prism to the stop and
firmly tighten the screwing cap
manually.
Attention!
!
!
Possible failure of protection
device!
Immediately before screwing in
the opto-electronic unit, ensure
that the prism is dry!
Remove condensing water care-
fully!
Attention!
!
!
Danger of compressor break-
down!
Moisture ingress may destroy
the protection device!
Ensure that the cable connection
always points downwards!
• In no case dismount the opto-elec-
tronic unit!
• Dévisser la vis (M20x1,5) du couvercle
de palier et nettoyer le trou taraudé.
• Vérifier la propreté du cône en verre
de l'unité prisme à l'intérieur et à l'exté-
rieur et le nettoyer, si nécessaire.
• Visser l'unité prisme avec joint métal-
lique dans le couvercle de palier.
Couple de serrage environ 75 Nm.
• Glisser l'unité opto-électronique soi-
gneusement dans l'unité prisme jus-
qu'à la butée et serrer fermement le
bouchon fileté, à la main.
Attention !
!
!
Défaillance du dispositif de
protection possible !
Immédiatement avant de serrer la
vis de l'unité opto-électronique, il
faut garantir que l'unité prisme est
sèche.
Enlever soigneusement l'eau
condensation !
Attention !
!
!
Danger de défaillance du compres-
seur !
Destruction du dispositif de protec-
tion possible par introduction d'hu-
midité !
Garantir que le raccordement de
câble est toujours dirigé vers le bas !
• En aucun cas, démonter l'unité opto-
électronique!
7
