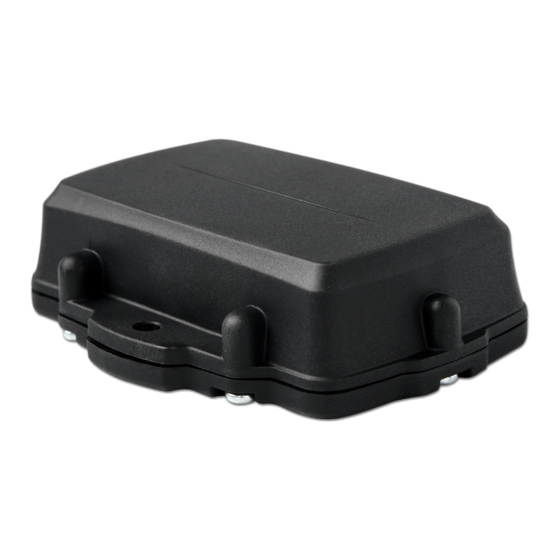
Digital Matter Oyster2 Manuale d'uso - Pagina 4
Sfoglia online o scarica il pdf Manuale d'uso per GPS Digital Matter Oyster2. Digital Matter Oyster2 9.

Alerts
NOTE : Click the N ew Alert button to open the A lerts tab under the S ettings menu.
The A lerts report generates a detailed report that shows the date and time of an alert, the
Number of the GPS tracker, the associated vehicle, the Alert Type and the actual alert
message.
Settings
The Settings tab at the
L onestar Tracking web page
allows you to create, manage, and delete
information including T racking Devices , O bjects (GeoFences), A lerts , and P rofile . The searches
and Alerts on the webpage give you greater control than with the Lonestar Tracking App.
Settings->Tracking Devices
The Tracking Devices tab under Settings shows all active GPS Tracker devices in your profile.
Information shown includes tracking device Number, Icon Text, Make / Model, Created date,
and an Action link.
Clicking on the Action hyperlink on any asset reveals greater details about that vehicle and
tracking device that you can add. This information includes License Plate, Icon Type, Icon Text,
Make / Model of the tracking device, Fuel Type, and Mileage.
Settings->Objects
Objects are landmarks, buildings, or anything else you can pinpoint on a map. For example, you
can set your home and office as objects. The O bjects tab reveals specific details like O bject
Name, Area, Coordinates, Author , as well as E dit and D elete links.
Clicking the E dit link associated with any object reveals it on the map. You can change the
GeoFence's name by typing it into the S ave Object field and clicking S ave . Click C ancel to
return to the previous screen.
Clicking the D elete link associated with any object asks if you're sure, and the object is removed
permanently from your profile when you click O K . Click C ancel to keep the object and return to
the previous screen.
Settings->Creating a New Object
You can create a new landmark by clicking the C reate Object button in the upper right side of
the O bjects screen. This will open a map. Click the S earch Address pull-down menu and enter
