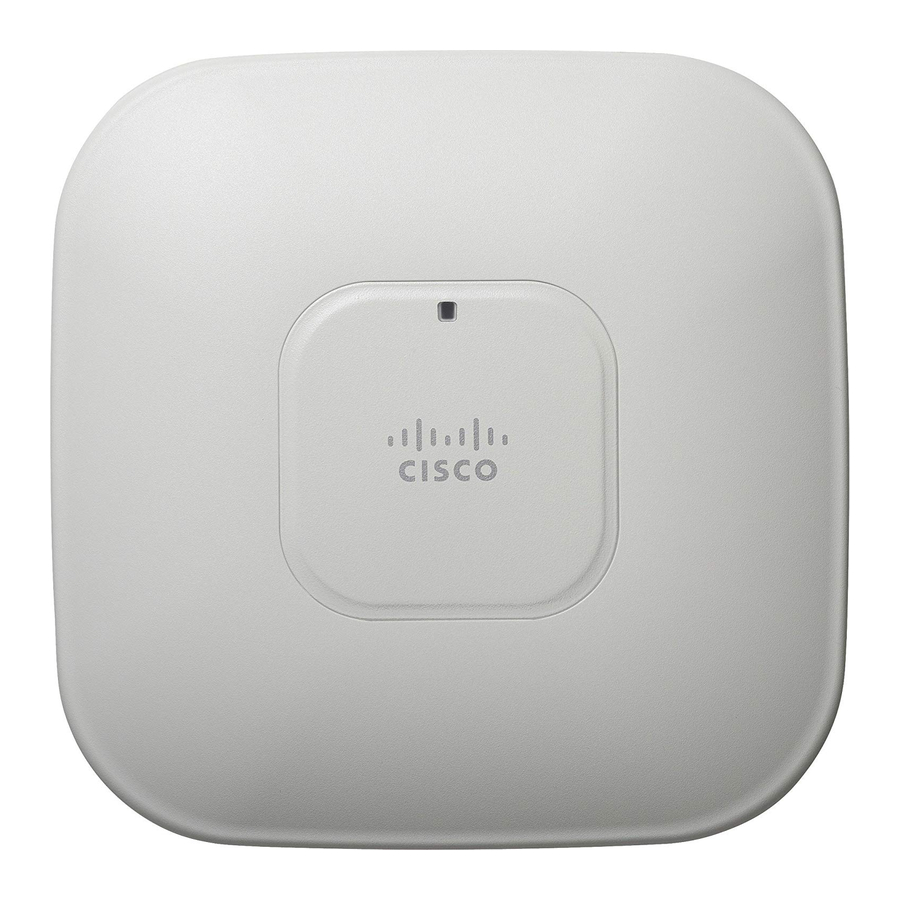
Cisco AIR-AP1141N-A-K9 - 802.11G/N Fixed Auto Ap; Int A Manuale introduttivo - Pagina 9
Sfoglia online o scarica il pdf Manuale introduttivo per Punto di accesso wireless Cisco AIR-AP1141N-A-K9 - 802.11G/N Fixed Auto Ap; Int A. Cisco AIR-AP1141N-A-K9 - 802.11G/N Fixed Auto Ap; Int A 37. Autonomous access point

5
Mounting the Access Point
Cisco Aironet 3500, 1260, 1140, 1130, and 1040 series access points can be mounted in several
configurations, including on a suspended ceiling, on a hard ceiling or wall, on an elecrtical or network
box, and above a suspended ceiling. Click this URL to browse to complete access point mounting
instructions:
http://www.cisco.com/en/US/docs/wireless/access_point/mounting/guide/apmount.html
The integrated antenna design of the 1140 series access point is designed for horizontal
Note
surfaces, (table top and ceiling installations). When mounted to such surfaces, the integrated
antennas produce the best antenna radiation pattern. For advanced features such as voice,
location, and rogue access point detection, ceiling mounting is strongly recommended.
However, for smaller areas such as conference rooms, kiosks, transportation, and hot-spot
usage where the customer is concerned primarily with data coverage and not advanced
features, you can mount the unit on a wall using wall anchors.
Do not use plastic wall anchors or the keyhole slots on the mounting bracket for ceiling
Caution
installations. When mounting the access point on a hard ceiling, use four fasteners
capable of maintaining a minimum pullout force of 20 lbs (9 kg).
6
Configuring Basic Settings
Before you can configure basic settings, the access point and your PC needs an IP address. See the
"Obtaining and Assigning an IP Address" section on page 6.
Follow these steps to configure basic settings for the access point using the GUI Express Setup page.
Open your browser, and enter the access point IP address in the address field. A username and
Step 1
password screen appears.
Step 2
Enter the username Cisco and password Cisco. The username and password are case sensitive.
Press Enter. The Summary Status page appears.
Step 3
9
