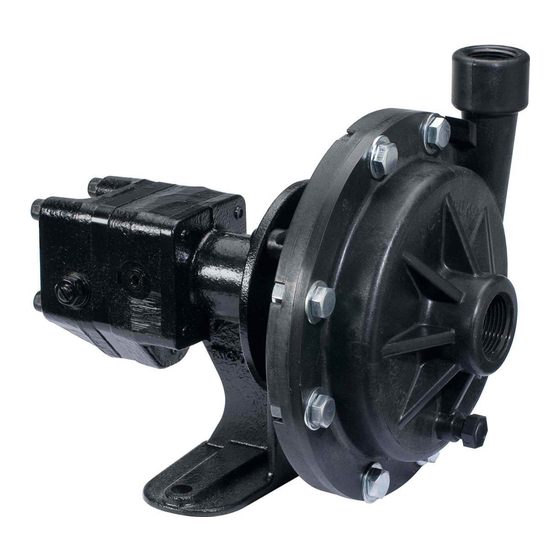
Ace FMC-200-HYD-310 Manuale di istruzioni - Pagina 11
Sfoglia online o scarica il pdf Manuale di istruzioni per Pompa dell'acqua Ace FMC-200-HYD-310. Ace FMC-200-HYD-310 12. Hydraulic motor driven centrifugal pumps

ASSEMBLY:
1.
Place drive shaft/bearing assembly in drive plate.
2.
Apply a thin film of hydraulic oil to the seal bullet. Insert seal/bullet assembly over shaft
tang. Press seal by hand over the installation bullet until the seal casing touches the
drive plate.
3.
Place a 3/4" (200 Series) or 15/16" (300 Series) deep socket over seal and press or tap into
seal cavity until seated.
4.
Remove the installation bullet.
Note: Do not install the seal retaining ring with the seal support spacer.
5.
Lightly grease large "O" rings and insert in plate grooves. (300 series grooves in gear housing)
6.
Place dowel pin and drive gear on drive shaft.
7.
Place idler gear/shaft assembly in drive plate bushing.
8.
Assemble the drive, center, and end plates aligning scribe marks.
9.
Install two 1/4" cap screws - torque 6-8 ft-lbs (200 series) or four cap screws - torque 24 ft-lbs
(300 series).
Caution: Do not over tighten.
10. Remove needle valve, replace thread seal (metal washer with rubber insert) by screwing it onto
the needle, and reassemble.
Note: Forcing the thread seal of the needle threads may damage the seal.
11. Remove seal check cap from drive plate with 5/32" allen wrench (200 series) or 7/8" wrench
(300 series), replace seal check cap "O" ring, and reassemble.
12. Position seal support spacer in the cavity behind the pump bearing and snap ring. Fill the
spacer hole halfway with coupling grease.
Note: The smaller diameter of the 200 series spacer must face the hydraulic motor.
13. Install motor by aligning motor tang and pump shaft slot. Rotate motor to proper orientation.
14. Install four 5/16" socket head cap screws and tighten to 15 ft.lb. torque.
Assembly Step 3
9
