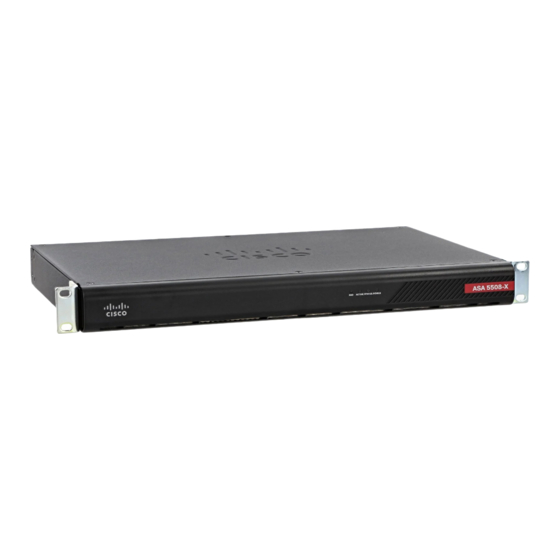
Cisco ASA 5508-X and ASA 5516-X Quick Start Guide
Computer
(May be required)
Firepower Management Center
Note:
You must use a separate inside switch in your deployment.
The default configuration enables the above network deployment with the following behavior.
inside --> outside traffic flow
outside IP address from DHCP
DHCP for clients on inside
Management 1/1 belongs to the ASA FirePOWER module. The interface is Up, but otherwise unconfigured
on the ASA. The ASA FirePOWER module can then use this interface to access the ASA inside network and
use the inside interface as the gateway to the Internet.
Note:
Do not configure an IP address for this interface in the ASA configuration. Only configure an IP address
in the Firepower configuration. You should consider this interface as completely separate from the ASA in
terms of routing.
ASDM access on the inside interface
Note:
If you want to deploy a separate router on the inside network, then you can route between management and
inside. In this case, you can manage both the ASA and ASA FirePOWER module on Management 1/1 with the
appropriate configuration changes.
Procedure
Internet
1.
Cable the following to a Layer 2 Ethernet switch:
ASA FirePOWER Default Gateway
Layer 2
Switch
GigabitEthernet 1/2
Management 1/1
No ASA IP address
ASA FirePOWER IP address: 192.168.1.2
GigabitEthernet 1/1
outside, DHCP from Modem
1
2
3
GigabitEthernet 1/2
inside, 192.168.1.1
(ASA Management;
Gateway)
WAN Modem
3. Deploy the ASA 5508-X or ASA 5516-X in Your Network
ASA
inside
outside
GigabitEthernet 1/1
192.168.1.1
FP
Management 1/1
Must set to 192.168.1.2
(ASA FirePOWER Management)
s
4
5
6
7
8
Layer 2 Switch
Internet
L
CONSOLE
Management Computer
DHCP from inside: 192.168.1.x
3

