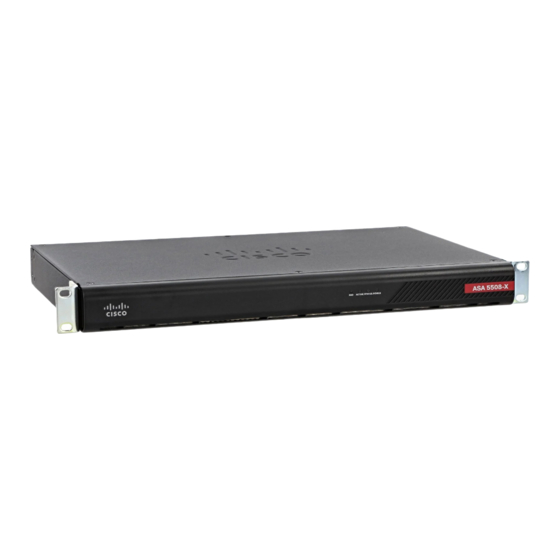
Cisco Firepower Threat Defense for the ASA 5508-X and ASA 5516-X Using Firepower Management Center Quick Start Guide
If the device and the Firepower Management Center are separated by a NAT device, enter a unique NAT ID
along with the registration key, and specify DONTRESOLVE instead of the hostname, for example:
>configure manager add DONTRESOLVE my_reg_key my_nat_id
Manager successfully configured.
The Firepower Management Center and the security appliance use the registration key and NAT ID (instead of
IP addresses) to authenticate and authorize for initial registration. The NAT ID must be unique among all NAT
IDs used to register managed appliances to establish trust for the initial communication and to look up the
correct registration key.
Note:
At least one of the security appliances, either the Firepower Management Center or the Firepower
Threat Defense, must have a public IP address to establish the two-way, SSL-encrypted communication
channel between the two appliances.
9.
Close the CLI.
> exit
What To Do Next
Register your device to a Firepower Management Center as described in the next section.
7. Register the Device with the Firepower Management
Center and Assign Smart Licenses
Before You Begin
Set up Smart Licensing on your Firepower Management Center. Make sure you have the following a Cisco
Smart Account. You can create one at Cisco Software Central (https://software.cisco.com/).
Make sure you have a base Firepower Threat Defense license added to your Smart Account; for example,
L-ASA5516T-BASE=.
Procedure
1.
Log into the Firepower Management Center using an HTTPS connection in a browser, using the hostname or
address entered above. For example, https://MC.example.com.
2.
Use the Device Management (Devices > Device Management) page to add the device. For more information,
see the online help or the Managing Devices chapter in the Firepower Management Center Configuration
Guide.
3.
Enter the management IP address configured on the device during the CLI setup.
4.
Use the same registration key as specified on the device during the CLI setup.
5.
Select your Smart Licensing options (Threat, URL, Advanced Malware).
These licenses need to be present in your Smart Account already. You should have a base license for your
appliance in your Smart Account.
6.
Click Register and confirm a successful device registration.
What To Do Next
Configure policies and device settings for your device. After you add the device to the Firepower Management
Center, you can use the Firepower Management Center user interface to configure device management
settings and to configure and apply access control policies and other related policies to manage traffic using
your Firepower Threat Defense system.
7. Register the Device with the Firepower Management Center and Assign Smart Licenses
7

