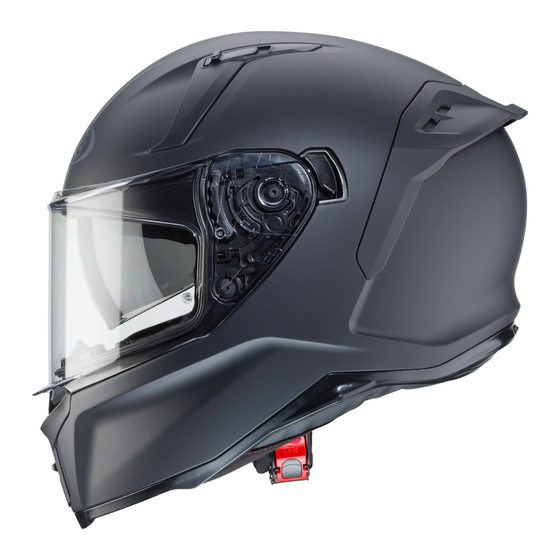
Caberg AVALON Manuale - Pagina 4
Sfoglia online o scarica il pdf Manuale per Accessori per moto Caberg AVALON. Caberg AVALON 11.

ITA
6.
INSTALLAZIONE LENTE ANTIAPPANNAMENTO
6.1
Rimuovere la visiera dal casco come indicato nelle
istruzioni.
6.2
Flettere la visiera e inserire la lente antiappannamento fra i 2
perni presenti nella visiera del casco. La guarnizione deve
essere totalmente a contatto con la visiera al fine di evitare
la formazione di condensa tra visiera e lente.
6.3
Rimuovere la pellicola di protezione dalla lente
antiappannamento.
6.4
Riposizionare la visiera sul casco.
7.
RIMOZIONE LENTE ANTIAPPANNAMENTO
7.1
Rimuovere la visiera dal casco come indicato nelle
istruzioni.
7.2
Flettere delicatamente la visiera fino a quando non ci
sarà più tensione, quindi rimuovere delicatamente la lente
antiappannamento.
4
1.
HOW TO REMOVE/ INSTALL THE CLEAR VISOR
To remove the visor:
1.1
Open the visor until the penutilmate snap
1.2
Push the lever A on the mechanism to release the visor (Pic.1).
1.3
Repeat the operation on the other side in ordert o remove
completely the visor
To install the visor:
1.4
Place the central pivot and insert the hook B into the hook
tail on the mechanism.
1.5
To complete the installation push the hook C until it clips
under the release (Pic.2)
2.
HOW REMOVE THE SMOKE VISOR
2.1
Drive the lever of the sunshade visor downwards
2.2
Release the smoked visor by pulling slightly outward (Pic.3)
3.
HOW TO INSTALL THE SMOKE VISOR
3.1
Drive the lever oft he sunshade visor downwards
3.2
Insert and clip the sunshade visor accommodating its side
parts into their seating slightly pressing (Pic.4)
WARNINGS! Do not use the sunshade visor during late night
hours or in scarce visibility condition.
WARNINGS! Any adjustments to the sunshade visor must be
done in still position
4.
HOW TO REMOVE THE WASHABLE LINING
To remove the inner padding you can start from either the
right or left side
4.1
Remove the cheek pad by pulling it inwards and detach the
studs in the back. Repeat the same step on the opposite side
4.2
Starting from the neck device, remove the lining by pulling
slightly towards the inside of the helmet until release the fixing
plastic frame in the rear D (Pic.5). Still pulling gently, release
ENG
5
