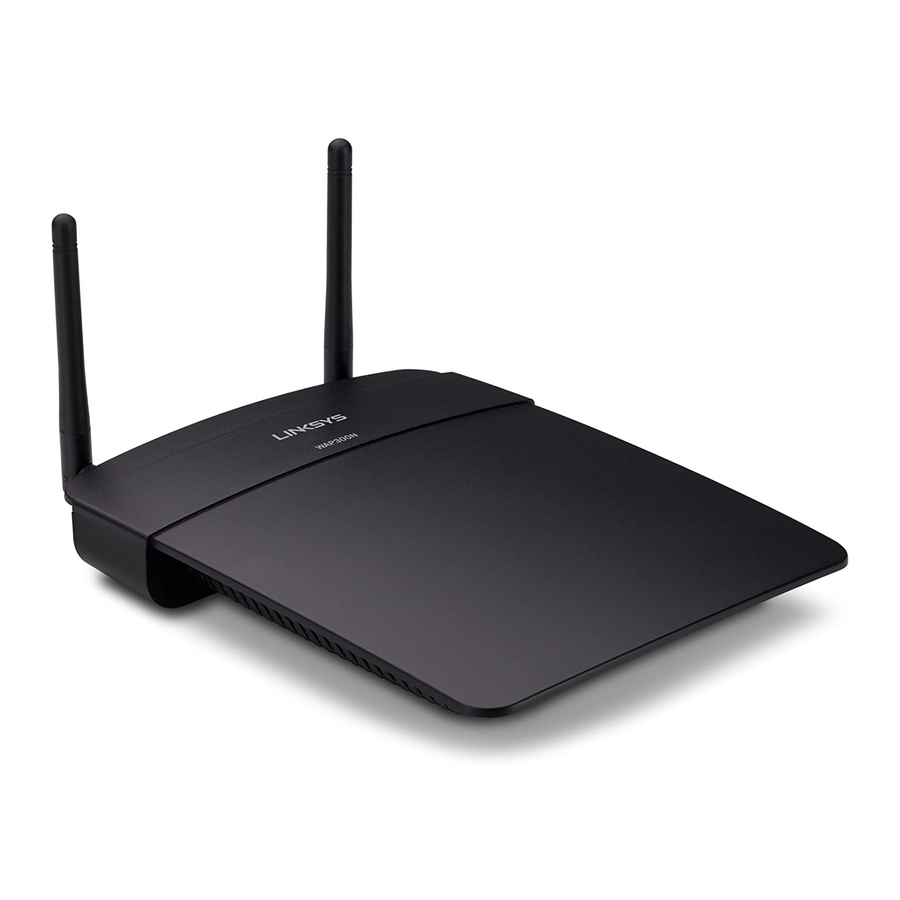
Cisco WAP300N Manuale d'uso - Pagina 12
Sfoglia online o scarica il pdf Manuale d'uso per Punto di accesso wireless Cisco WAP300N. Cisco WAP300N 30.
Anche per Cisco WAP300N: Manuale (9 pagine)

Linksys WAP300N
How to use Access Point mode
In addition to the topics below, see the topics "How to set up the MAC filter" on
page 19 and "How to set up QoS (Quality of Service)" on page 20
How to select Access Point mode
To select Access Point mode:
Setup > Operation Mode
1. Log into the browser-based utility (see "How to open the browser-based
utility" on page 8)
2. Click the Setup tab, then click the Operation Mode page
3. Select Access Point (default), then click Save Settings
How to use Wi-Fi Protected Setup
While in Access Point mode, you can use Wi-Fi Protected Setup™ to easily
connect wireless network devices to your wireless network
You can use three methods for Wi-Fi Protected Setup:
Press the Wi-Fi Protected Setup button on each device
•
Enter the client device's Wi-Fi Protected Setup PIN onto the WAP300N
•
Enter the WAP300N's Wi-Fi Protected Setup PIN onto the client device
•
To manually configure your network, see "How to manually set up your
WAP300N" on page 10)
NOTE
Your WAP300N must have Wi-Fi Protected Setup enabled before
you can use it to connect network devices In the browser-based
utility, click the Wireless tab, then click the Basic Wireless Settings
page and make sure that Wi-Fi Protected Setup is set to Enabled
How to connect a device using the Wi-Fi Protected Setup
button
Use this method if your device has a Wi-Fi Protected Setup button or prompts
you to press the Wi-Fi Protected Setup button on your WAP300N
To connect a device using the Wi-Fi Protected Setup button:
1. Press the Wi-Fi Protected Setup button on the network device you are
connecting to
2. Within two minutes, press the Wi-Fi Protected Setup button on the
back of the WAP300N
- OR -
a. Log into the WAP300N's browser-based utility (see "How to open the
browser-based utility" on page 8)
b. Click the Wireless tab, then click the Basic Wireless Settings page
c. For Configuration View, select Wi-Fi Protected Setup™
d. Click the Wi-Fi Protected Setup button in the Wi-Fi Protected Setup
screen
Setting Up: Basics
9
