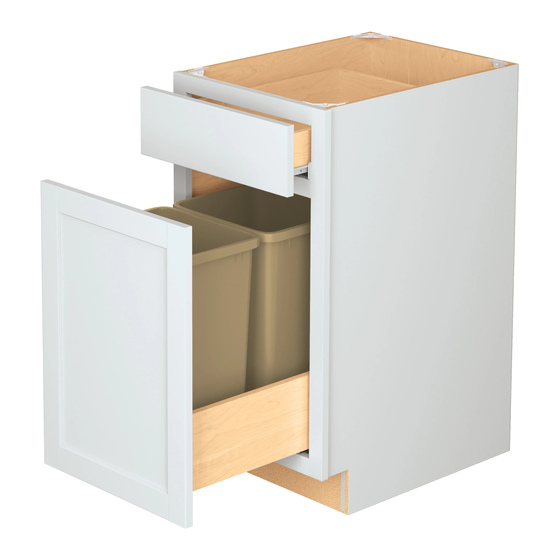
CABINETS TO GO Findley & Myers BC12 Istruzioni per il montaggio - Pagina 3
Sfoglia online o scarica il pdf Istruzioni per il montaggio per Arredamento per interni CABINETS TO GO Findley & Myers BC12. CABINETS TO GO Findley & Myers BC12 5. Base cabinets
Anche per CABINETS TO GO Findley & Myers BC12: Manuale di istruzioni per il montaggio (9 pagine)

Instructions:
►
1.
Place the face frame (A) face down on a flat soft working surface to ensure that the face is
not scratched or damaged (Figure 1).
2.
Installing the Side Panels (Figure 2): Insert right and left side panels (B) into the grooves of
the face frame (A) and align the cam lock connectors (Figure 2). Lock the cam
with a screw driver by turning the screw 180° clockwise (Figure 4).
3.
Installing the Bottom (Figure 3): Gently spread the side panels and insert the bottom (C)
into the grooves of side panels (B) until it is seated in the face frame (A). Align it and lock each cam.
4.
Installing the Back Panel and Toe Kick (Figure 5): Before you start this step, place the
back panel (D) on a flat surface facing upward. Install the drawer rail holders (g) in the pre‐
spotted area on the back panel (Figure 6). Secure them with 2 flat head screws (e) (Figure 6). Then
put the back panel (D) at rear of side panels (B) (Figure 5). Align and lock each cam lock. Install the
Toe Kick (F) by locking the cam lock at both ends (Figure 5).
e
g
4
2
Qty
Qty
5.
Installing the Shelves: Insert the shelf clips (d) (Figure 7) into the adjustable shelf holes on the side
panels (B) at the desired height and slide in the shelf (E).
d
t
4
Q
y
A
Figure 1
B
B
Figure 2
C
B
B
Figure 3
D
B
F
Figure 5
B
Figure 7
g
D
Figure 6
Page 3
Figure 4
e
Top
g
