Cisco TelePresence DX70 Impostazione per l'uso in casa di cura - Pagina 2

Sfoglia online o scarica il pdf Impostazione per l'uso in casa di cura per Sistema di conferenze Cisco TelePresence DX70. Cisco TelePresence DX70 3. Nhs networked use
Anche per Cisco TelePresence DX70: Manuale di installazione (6 pagine), Manuale d'uso (48 pagine), Manuale di riferimento rapido (2 pagine), Manuale d'uso (48 pagine), Manuale d'uso (33 pagine), Manuale d'uso (40 pagine), Manuale d'uso (14 pagine), Manuale (43 pagine), Impostazione (2 pagine)
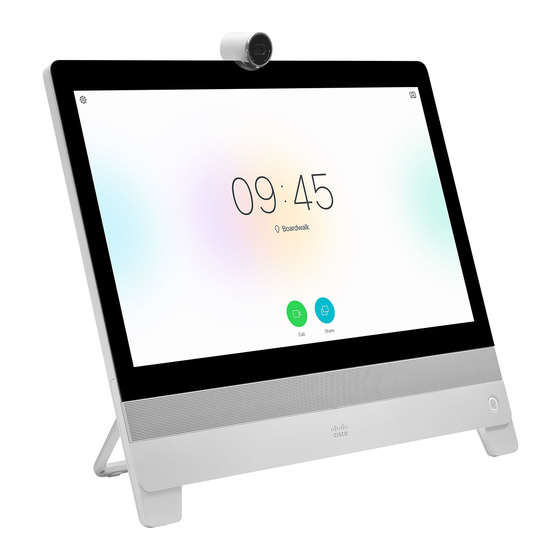
Cisco TelePresence DX70 Impostazione per l'uso in casa di cura
7. Tap Skip when asked about contacts and calendars.
8. Tap Continue when you reach a screen saying you are all signed in.
9. When asked for a PIN tap OK and on the following screen tap PIN, enter
the 4-digit PIN you received in your email from [email protected] and tap
Continue. You'll be asked to enter the PIN a second time. Do so and tap OK.
10. Your system will now link to our network, will be automatically configured to work with our other
units and will download any necessary firmware and software updates. Your system is now ready to
make and receive video calls. You will see your system's name and its dial-in number at the bottom
LHS of your screen.
11. Now, please set up the default home page on the browser to allow the collection of service
evaluation data from the unit's users.
a. Tap the Apps button (six white dots) at the top right hand corner of the screen
then Tap the Browser icon.
b. Once open, navigate to
https://www.surveymonkey.co.uk/r/TECVC
c. Tap the browser menu button in the top right hand
corner (three square dots) and select Settings (last
item).
d. Under the General section, tap Set homepage.
e. Then Select Current page.
f. Exit the browser and test by opening it again.