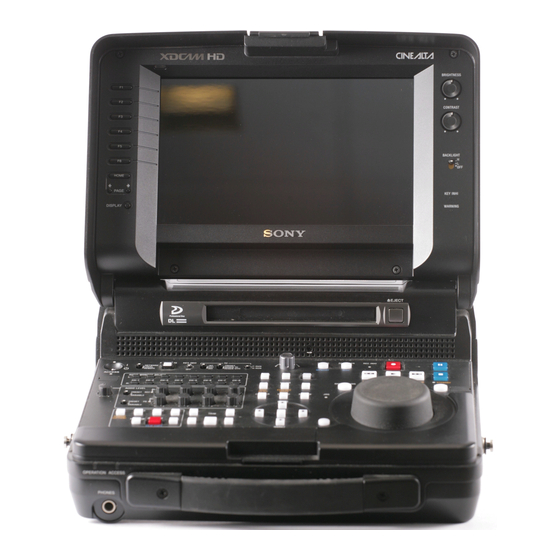
Sony XDCAM PDW-HR1 Manuale operativo - Pagina 38
Sfoglia online o scarica il pdf Manuale operativo per Videocamera Sony XDCAM PDW-HR1. Sony XDCAM PDW-HR1 49. Sxs memory card adaptor
Anche per Sony XDCAM PDW-HR1: Opuscolo e specifiche (28 pagine), Opuscolo (4 pagine), Manuale di installazione (16 pagine)

V mark indicating that it is possible to scroll down
(a v mark appears in the upper right when it is possible
to scroll up)
• B appears to the right when more detailed sub-items
are available.
• Settings appear to the right when a menu item has no
sub-items.
• You can select
previous level.
3
Turn the PUSH SET knob, or press the V/MARK1 or
v/MARK2 button, to move the cursor to the item that
you want to set, and then confirm the selection by
pressing the PUSH SET knob or the SET button.
The settings of the selected item appear, and the cursor
moves to the currently selected value.
• The settings area displays a maximum of seven
lines. You can scroll through menus with more than
seven settings by moving the cursor up and down.
Triangles appear at the upper right or lower right of
the settings area to indicate that a settings area is
scrollable.
• For items with a large settings range (for example,
0001 to 9999), the settings area is not displayed.
Instead, the item name is highlighted to indicate that
the item can be set.
4
Turn the PUSH SET knob, or press the V/MARK1 or
v/MARK2 button, to select the value to set, and then
confirm by pressing the PUSH SET knob or the SET
button.
The setting is changed, and the display is updated to
show the new setting.
If you select "Execute" for an executable item, the
corresponding function is executed.
38
Basic Setup Menu Operations
or press the B button to return to the
Settings area
If you select an item that requires confirmation
before execution
The menu disappears and a confirmation message appears.
Follow the instructions in the message to execute or cancel
the operation.
To enter text
Some items, such as clip titles, must be set by entering text.
When you select one of these items, the text entry area is
highlighted, with 3 displayed to the right.
1
Turn the PUSH SET knob, or press the up-/down-/
left-/right-arrow buttons, to select a character, and then
confirm by pressing the PUSH SET knob or the SET
button.
The cursor moves to the next position.
To return to the previous position
Press the RETURN button.
2
Select characters for all positions up to the last.
The cursor moves to 3.
3
Press the PUSH SET knob or the SET button.
This confirms the setting.
Character Set screen configuration
• Character selection area (three lines)
Select the character to insert at the title prefix cursor
position.
!#$%()+.-.;=@[]^_~
0123456789abcdefghijklmnopqrstuvwxyzABCDEFGH
IJKLMNOPQRSTUVWXYZ
• Cursor operation area (one line)
Space: Changes the character at the cursor position to a
space
INS: Inserts a space at the cursor position
DEL: Deletes the character at the cursor position
T: Moves the cursor to the left
t: Moves the cursor to the right
ESC: Cancels the change and return to the normal menu
END: Executes the change and return to the normal
menu
• Title prefix area (one line)
An area to enter the title
To set titles
1
Turn the PUSH SET knob or press the arrow buttons
to select a character, highlighting it, in the character
selection area, and then press the PUSH SET knob or
the SET button to insert it at the cursor position in the
title prefix area. (The cursor moves to the right.)
