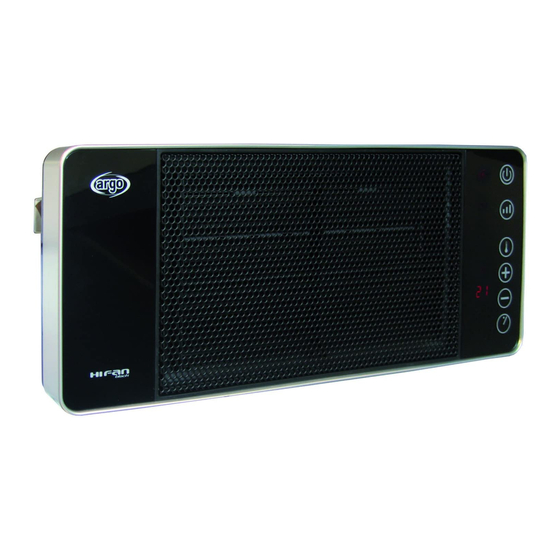
Argo HIFAN Black Manuale d'uso - Pagina 3
Sfoglia online o scarica il pdf Manuale d'uso per Riscaldatore Argo HIFAN Black. Argo HIFAN Black 4. Ceramic fan heater

Firstly connect the power cord with correct power supply (220-240V~). Press the ON/OFF power switch (no. 1 in the picture) to "I" position.
The unit is in stand-by mode after two "didi" sound. Then press on/off (stand-by) key to make the unit working and all functions available.
Press the power switch to "0" position to turn off the fan heater.
Please follow the here below instructions to use the different functions of the fan heater.
ON/OFF (STAND-BY) LIGHT
POWER LEVEL INDICATOR
(Low= 1300W
High= 2000W)
LED DISPLAY:
TEMPERATURE OR TIME
When both temperature and time
are set, the display shows
alternatively the ambient
temperature or the resting time.
(*) When the internal temperature sensor detects the set temperature, the heater enters in stand-by mode, the power indicator turns off and
the fan stops after about 10"; when the sensor detects a 2°C temperature decrease, the heater restarts operating at power level selected
initially. To ensure continuous operation, set temperature higher than desired or maximum value of temperature (35°C).
THIS FAN HEATER CAN BE PLACED ON THE FLOOR, ON A SHELF OR ON THE WALL: IN THE LAST CASE YOU MUST TAKE THE SPECIAL
HOLDER SUPPLIED WITH THE PRODUCT AND INSTALL IT ON THE WALL, AS BY FOLLOWING INSTRUCTIONS and PICTURES.
PRODUCT DESCRIPTION
OPERATING INSTRUCTIONS
ON/OFF (STAND-BY) KEY
When you touch this Key, the operation symbol (RED) appears and the unit
begins operating at low power level: the indication "Low" appears on
display, below on the left, and the ambient temperature appears too.
POWER LEVEL KEY
When you press this Key, the heating power pass from low to high level (from
1300W to 2000W): on display it appears the indication "High". If you continue
to press this key the power level changes from one to the other level.
TEMPERATURE KEY (*)
When you press this Key, you can choose the desired temperature, from 5 to
35°C. To set the temperature you have to press this key, press + or – key and
then wait 5", for setting confirmation.
The temperature then shown on the display will be the ambient temperature.
If You don't set any temperature, the default one is 30°C.
+ / - KEYS
When you press this Key, You can choose the desired temperature, from 5 to
35°C, or the time, from 1 to 12 hours (by 1h step).
TIMER (SWITCH OFF TIME)
To fix a time for the operation of the unit (from 0 to 12 hours, by 1h step), press
this key and then + or – key to fix the time and then wait 5", for setting
confirmation.
WALL SUPPORT
V 02/09
1.
ON/OFF power switch
2.
air outlet grille
3.
touch panel and LED display
4.
removable air filter
5.
air inlet grille
6.
feet rubber
7.
power cord
HOW TO PLACE THE WALL HOLDER
Take the wall holder set, screw out the knob widdershins to make
the three components separately.
You can choose the preferred height to put the wall holder, but the
minimum distance should be 20 cm from both the ceiling and the
nearest wall (horizontally).
Fix the base of wall holder by screw and then fix the wall holder to
the base by the knob. (N.B.: check the orientation, referring to the
mark on the appliance).
HOW TO PLACE THE UNIT ON THE WALL HOLDER
Put the unit on the wall holder, inserting firstly the top of the back
and then the bottom using the appropriate support points.
When hang on the wall, the unit can be fixed in different positions:
- parallel to the wall;
- directed downward;
- directed downward and to the right;
- directed downward and to the left.
To adjust the direction, remove the unit from the wall, loose the
knob, adjust the support in the desired position and then secure the
knob again firmly; then place again the unit on the wall.
To take out the unit from the wall holder press the small lever under
the lower arm of the holder and then pull gently the unit.
