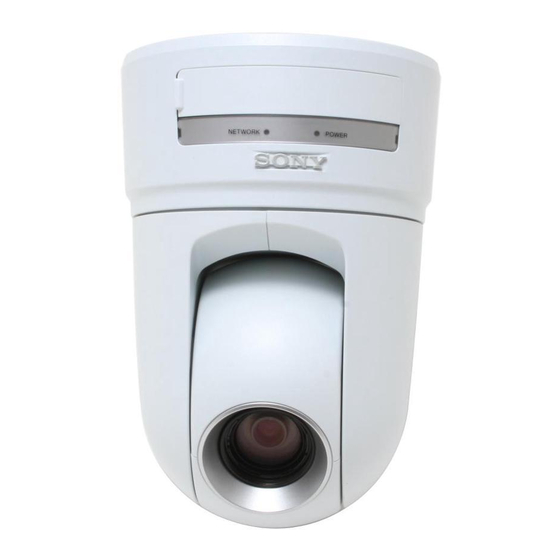
Sony SNC-RZ25N - Network Camera Nota di integrazione - Pagina 2
Sfoglia online o scarica il pdf Nota di integrazione per Fotocamera digitale Sony SNC-RZ25N - Network Camera. Sony SNC-RZ25N - Network Camera 4. Ntsc/pal
Anche per Sony SNC-RZ25N - Network Camera: Catalog (44 pagine), Manuale di riferimento (2 pagine), Riferimento rapido (20 pagine), Opuscolo e specifiche (6 pagine)

C
C
AMERA
ONFIGURATION
The camera configuration is done with software provided by Sony, which must be run from a computer
with Windows also connected to the same network as the camera.
The software program from Sony is the IP Setup Program, and the version used for this document is
shown above.
C
S
AMERA
ETTINGS
1. Start the IP Setup Program.
2. Wait a moment to allow the software to find the camera: the following screen appears, then select
the desired camera.
3. Set the IP address to the desired value, as shown above: we suggest setting the first camera to
192.168.0.80, the second to 192.168.0.81, and so forth.
4. Set the DNS server address, also as shown above.
5. Set the HTTP port to 80 as shown above.
6. Set the Administrator name and Administrator password. By default Sony uses admin for the
user name and admin for the password. We suggest you use those.
7. Click OK and wait for a few moments: once the settings have saved you should see a small dialog
that confirms the changes were made.
2 of 4
