Argo Response Series Manuale di servizio - Pagina 15
Sfoglia online o scarica il pdf Manuale di servizio per Veicolo fuoristrada Argo Response Series. Argo Response Series 16. Ducting & exhaust

Ducting & Exhaust
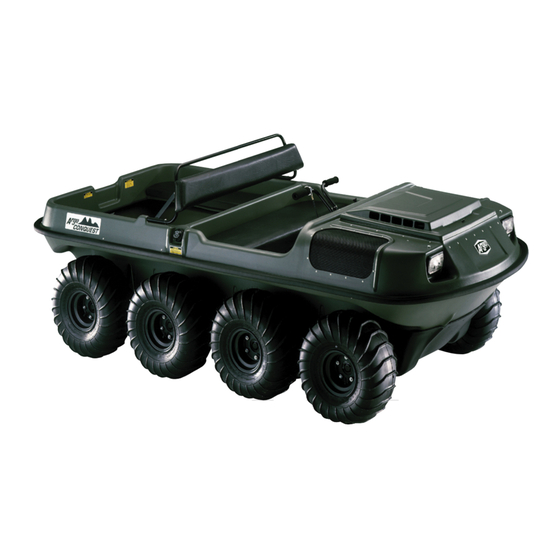
Installing the Intake Duct (Conquest Models)
1.
Slip the intake duct between upper and lower body.
2.
Position the duct so that both duct and lower body mounting holes are aligned.
3.
Install the hardware required to fasten the duct to the lower body
4.
Re-rivet the upper body to the lower using washers on the underside of the
vehicle. Reinstall the rubber bumper.
Removing the Exhaust Ducting (Response, Bigfoot, Vanguard2 & Vanguard Models
1.
Perform the servicing procedure, Removing the Muffler (Response, Vanguard2 &
Vanguard Models) or: Perform the servicing procedure, Removing the Muffler
(Bigfoot Models)
2.
Remove the 2 fasteners securing the exhaust ducting to the hood support brace.
Photo DE-32
3.
The exhaust ducting is secured at the other end by 2 body rivets located at the upper
body beneath the rubber bumper. Photo DE-33 Peel back the bumper and drill out
both rivets.
4.
Pull the duct assembly in towards the engine compartment and up and out of the
vehicle.
Installing the Exhaust Ducting (Response, Bigfoot, Vanguard2 & Vanguard Models)
1.
Insert the ducting into the engine compartment. Slip the exhaust duct support be-
tween the upper and lower body aligning the holes in the support, with the rivet
holes of the previously removed rivets.
2.
Insert 2 body rivets through the body and shroud support, and secure with 2 washers
below.
Ontario Drive & Gear Limited
PH.(519)- 662-2840 FAX (519)- 662-2421
DE-32
DE-14
Argo Service Manual
DE-33
www.odg.com
