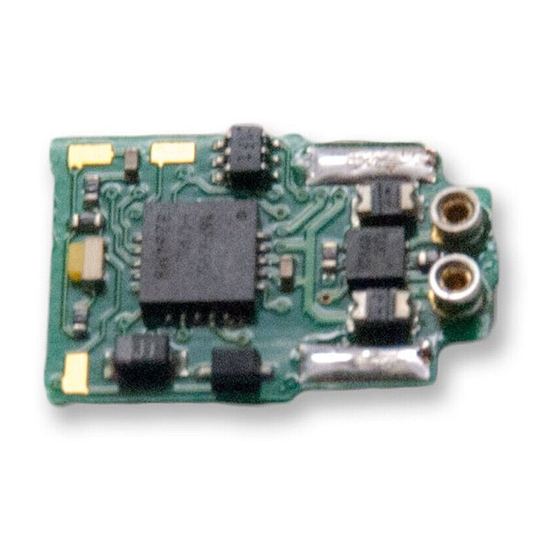
Digitrax DN126M2 Manuale - Pagina 2
Sfoglia online o scarica il pdf Manuale per Convertitore multimediale Digitrax DN126M2. Digitrax DN126M2 8.

Parts List
1 DN126M2 Function Decoder
1 Instruction Sheet
Installation Information
See the Digitrax Decoder Manual V2 for complete decoder test procedures, instal-
lation instructions, programming and technical information. Digitrax manuals
and instructions are updated periodically. Please visit www.digitrax.com for the
latest versions, technical updates and additional locomotive-specific installation
instructions. CAUTION: Programming and layout track must not exceed
16V when using this decoder.
Installation Instructions
1.
Carefully remove the fuel tank cover
and the locomotive's shell from the
frame. Be extra careful to not
damage the pickups attached
to the locomotive shell, not
spreading the shell sides ade-
quately with e.g. toothpicks may
lead to the contacts catching
and being damaged as the shell
is being removed from the chas-
sis. (Figure 1) Notice the orientation
of the shell to the frame (Figure 2)
so that you can reinstall the shell
correctly.
2.
Gently remove the wires from the
factory light board by pulling them
up and out of the sockets. (Figure 3)
3.
Slide the factory light board forward
and out of the locomotive frame.
4.
Install the DN126M2 by sliding it
back into the slot where the factory
light board was removed. Insert the
wires into the corresponding sockets
on the DN126M2. (Figure 4)
5.
Replace shell and fuel tank cover.
Be extra careful to not damage the
pickups attached to the locomotive
shell. You are now ready to run your
locomotive. The DN126M2 is factory
programmed to address 03. You can
easily customize the address and
other features. See section "Customizing Your Decoder" that follows.
© 2014 Digitrax, Inc.
Figure 1. Removal of shell
Shell Pickups
Figure 2. Shell removed
Figure 3. Remove Factory Light Board
— 2 —
Toothpicks
Factory Light board
Gently remove wires
www.digitrax.com
