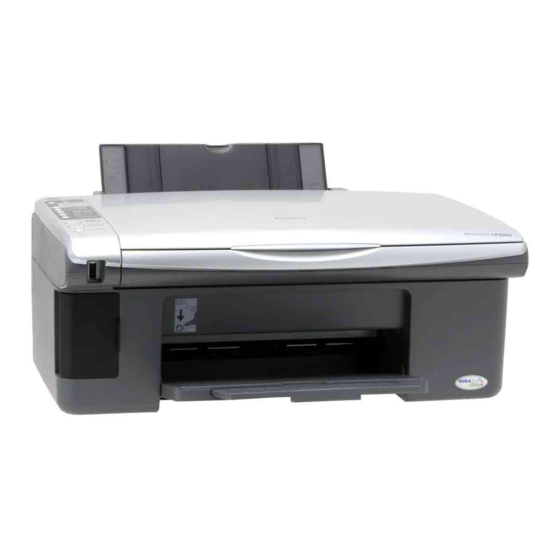
Epson CX5000 - Stylus Color Inkjet Manuale - Pagina 14
Sfoglia online o scarica il pdf Manuale per Scanner Epson CX5000 - Stylus Color Inkjet. Epson CX5000 - Stylus Color Inkjet 19. Epson scan icm updater v1.20 (psb.2008.07.001)
Anche per Epson CX5000 - Stylus Color Inkjet: Iniziare qui Manuale (8 pagine), Iniziare qui Manuale (8 pagine), Aggiornamento (1 pagine), Manuale di avvio rapido (4 pagine)

Epson Stylus CX5000 Series
Caution:
Do not open ink cartridge packages until you are ready to install the
ink. Cartridges are vacuum packed to maintain reliability.
Install a new ink cartridge immediately after removing an expended
one. Leaving cartridges uninstalled can dehydrate the print head
and may prevent the CX5000 Series from printing.
Leave the expended cartridge installed until you have obtained a
replacement, or the ink remaining in the print head nozzles may dry
out. To ensure good results, use genuine Epson ink cartridges and
do not refill them. Other products may cause damage to your
CX5000 Series not covered by Epson's warranty.
If you remove an ink cartridge for later use, protect the ink supply
area from dirt and dust and store it in the same environment as the
CX5000 Series. Note that there is a valve in the ink supply port,
making covers or plugs unnecessary, but care is needed to prevent
the ink from staining items that the cartridge touches. Do not touch
the ink cartridge ink supply port or surrounding area.
If you remove a low or expended ink cartridge, you cannot reinstall
and use the cartridge.
1. Make sure the CX5000 Series is on.
2. Make sure that the document cover is closed, then open the
scanner.
Caution:
Do not open the scanner when the document cover is open.
3. Press and release the B ink button. The
flash.
Note:
B
Do not hold down the
ink button for more than 3 seconds or
the printer will start to clean the print head.
If one of the cartridges is low or expended, the CX5000
Series moves that cartridge to the _ ink out mark. Go to
step 4.
14
4. Press the B ink button again.
5. Open the cartridge cover.
and B ink lights
On
6/06
If no cartridges are low or expended, the ink cartridge
holder moves to the ink replacement position. Go to step 5.
Caution:
Do not move the print head by hand; this may damage the
CX5000 Series. Always press the
❏ If more than one cartridge is low or expended, the next
cartridge moves to the _ ink out mark.
❏ Once the CX5000 Series has identified all of the low or
expended ink cartridges, the print head moves to the ink
cartridge replacement position.
B
ink button to move it.
