Epson GT-15000 Series Manuale d'uso del funzionamento - Pagina 6

Sfoglia online o scarica il pdf Manuale d'uso del funzionamento per Scanner Epson GT-15000 Series. Epson GT-15000 Series 8. Flatbed scanner
Anche per Epson GT-15000 Series: Manuale d'uso (7 pagine), Bollettino di assistenza prodotti (23 pagine), Bollettino di assistenza prodotti (40 pagine), Bollettino di assistenza prodotti (24 pagine), Bollettino di assistenza prodotti (29 pagine), Bollettino di assistenza prodotti (8 pagine), Bollettino di assistenza prodotti (3 pagine), Bollettino di assistenza prodotti (11 pagine), Bollettino di assistenza prodotti (14 pagine), Bollettino di assistenza prodotti (12 pagine), Bollettino di assistenza prodotti (40 pagine), Bollettino di assistenza prodotti (11 pagine), Bollettino di assistenza prodotti (40 pagine), Bollettino di assistenza prodotti (22 pagine), Bollettino di assistenza prodotti (21 pagine), Bollettino di assistenza prodotti (12 pagine), Manuale di configurazione (39 pagine)
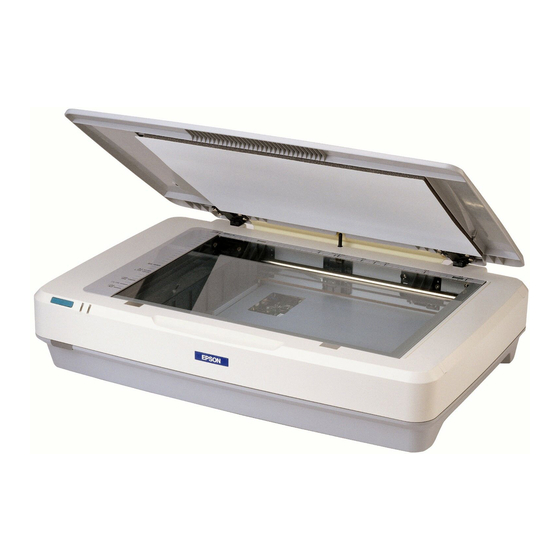
Epson GT-15000 Series Manuale d'uso del funzionamento
EPSON GT-15000
Tip: If the edges of your document don't scan properly,
move it in one-quarter inch from the edges of the document
table.
You can remove the document cover if you need to scan a
thick item—such as a book—that doesn't fit under the
cover. Simply lift the back of the cover straight up. When
you reattach the cover, line the rods up with the positioning
holes and lower the cover into place.
Warning: Before removing the document cover, make sure
you raise it all the way up. This will prevent the hinges from
snapping back on the springs and possibly injuring you.

Scanning to a File With EPSON Scan

You can use the import or acquire function of a TWAIN-
compliant application such as PaperPort Deluxe or Adobe
Photoshop to scan images directly into your application.
Or you can scan directly to your computer by starting
EPSON Scan from the Windows Start menu.
First, place your document or photo on the scanner as
described above. Then follow these steps:
1. Click
Start > Programs
.
EPSON Scan
Note: If you have multiple scanners installed, you are
prompted to choose your scanner. Click
and click
OK
.
2. Choose a mode from the Mode
list at the top of the EPSON
Scan window.
If you choose
Home Mode
preview scan opens automatically. (This is the default. If
you don't want an automatic preview, deselect
on the EPSON Scan dialog box.)
Preview
3. Change any settings for the mode you selected.
4. Click
. You see a File Save Settings window:
Scan
6 - EPSON GT-15000
or
All Programs > EPSON Scan >
EPSON GT-15000
, a
Auto
5. Type a name for your file in the Prefix field, then choose an
image type and click
Scan on-screen Help.)

Scanning With the Start Button

You can use the a Start button to open EPSON Scan, and
then scan your document as described above. Or, you can set
up the a Start button to open any compatible program on
your computer and start scanning.
If you have set up the scanner on a network, you can use the
a Start button to scan automatically and send the document
to an individual computer. For instructions on network
scanning, see the on-screen Reference Guide.
First, place your document or photo on the scanner as
described above. Then follow these steps:
1. Press the a Start button.
a
Start button
If you're using Windows 98, Me, or 2000, EPSON Scan
opens.
If you're using Windows XP, you see this window:
2. Select the program you want to use.
To have the program open automatically whenever you
press the a Start button, check
.
for this action
12/03
. (For more details, see the EPSON
OK
Always use this program