Cisco ATA 186 Configurazione - Pagina 19

Sfoglia online o scarica il pdf Configurazione per Porta d'ingresso Cisco ATA 186. Cisco ATA 186 28. Analog telephone adaptor
Anche per Cisco ATA 186: Scheda tecnica (7 pagine), Panoramica (11 pagine), Panoramica del manuale (11 pagine), Manuale di configurazione (8 pagine), Manuale d'uso (12 pagine), Manuale di installazione e configurazione (13 pagine), Istruzioni per l'installazione (6 pagine), Configurazione (6 pagine)
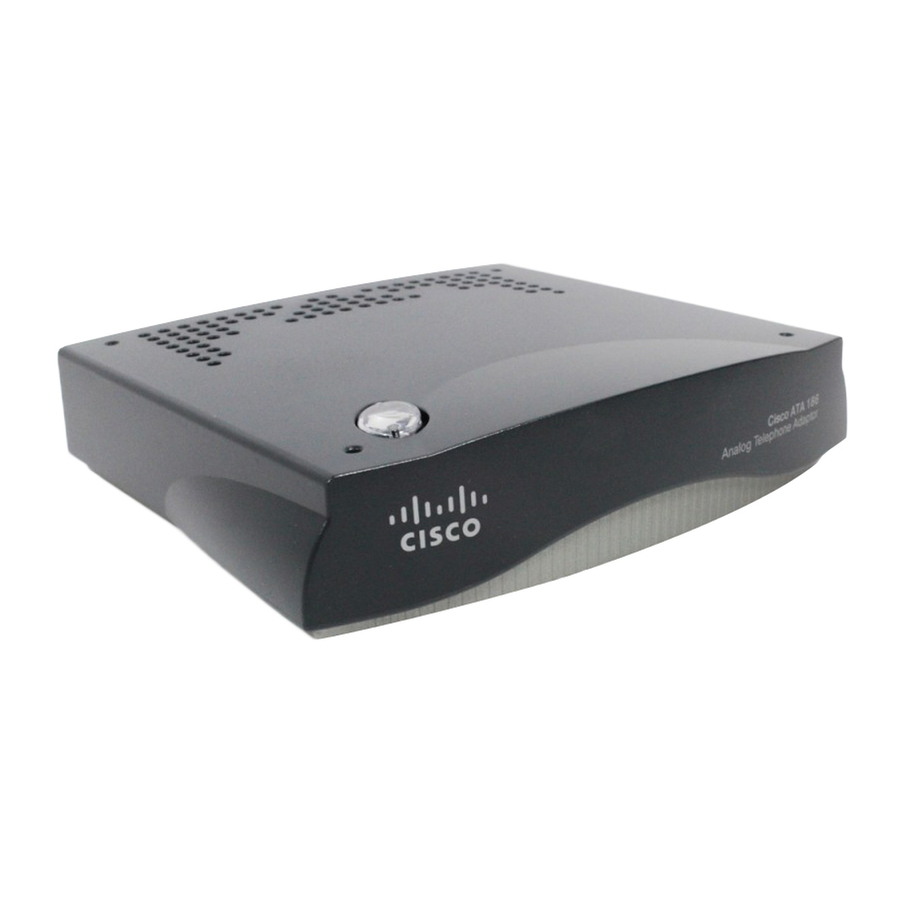
Cisco ATA 186 Configurazione
Connect the plug end of the 5V DC power adaptor cord
Step 8
into an electrical power outlet.
When the Cisco ATA is properly connected and
powered up, the green activity LED flashes to indicate
network activity. This LED is labeled ACT on the rear
panel of the Cisco ATA 186 and is labeled LINK on the
rear panel of the Cisco ATA 188.
Do not cover or block the air vents on either the
Caution
top or the bottom surface of the Cisco ATA.
Overheating can cause permanent damage to the
unit.

Power-Down Procedure

If you need to power down Cisco ATA 186 or
Caution
Cisco 188 at any time, use the following
power-down procedure to prevent damage to the
unit.
19