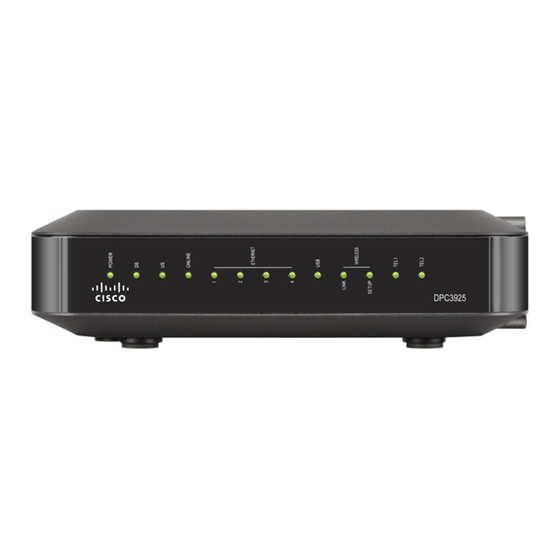
Cisco DPC3925 Manuale di avvio rapido - Pagina 9
Sfoglia online o scarica il pdf Manuale di avvio rapido per Porta d'ingresso Cisco DPC3925. Cisco DPC3925 12. Docis 3.0 cable modem

3. If you have a Telephone Service with your Service Provider, connect one
end of a telephone jumper cable (not included) to a telephone outlet in your
home or to a telephone or fax machine. Then connect the other end of the
jumper cable to the appropriate RJ-11 TELEPHONE port on the back of the
DPC3925 cable modem.
Notes: Make sure to connect your telephone service to the correct RJ-11
port. For single line telephone service, connect to port 1.
4. Locate the AC power cord provided with your DPC3925 Cable modem.
Insert one end of the power cord into the AC connector on the back of the
DPC3925 Cable modem. Then, plug the AC power cord into an AC outlet
to power-up the DPC3925 Cable modem. The DPC3925 Cable modem
will perform an automatic search to locate and sign on to the broadband
data network. This process may take up to 2-5 minutes. The modem will be
ready for use when the POWER, DS, US and ONLINE LEDs on the front
panel of the DPC3925 Cable modem stop blinking and remain on
continuously.
5. Plug in and power on your PC and other home network devices.
• If you are connecting to the DPC3925 Cable modem via Ethernet
Connection, the LINK LED on the residential gateway corresponding to
the connected devices should be on or blinking. The link LED will be
green color if a 1000BASE-TPC is connected. The link LED will be amber
if a 10/100BASE-TPC is connected.
• If you are connecting to the DPC3925 Cable modem via WiFi Connection,
the WIRELESS LINK LED on the residential gateway should be on or
blinking.
6. Launch Internet Explorer and enter http://192.168.0.1 in the Address\URL
field. You will see the log in page. The default User Name is "admin" and the
default Password is "password". Click the "Log In" button.
