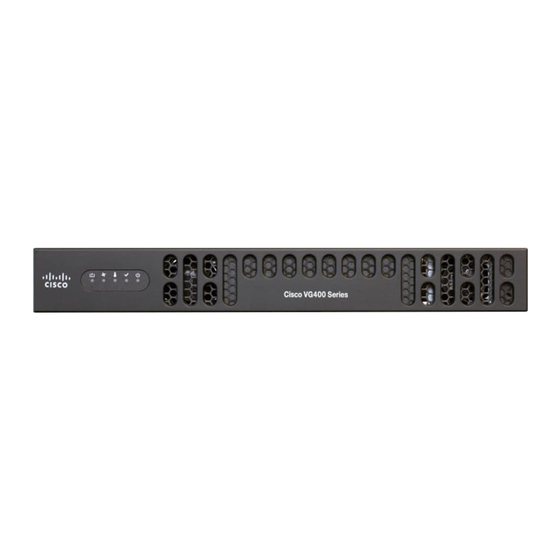
Cisco VG400 series Installazione - Pagina 10
Sfoglia online o scarica il pdf Installazione per Porta d'ingresso Cisco VG400 series. Cisco VG400 series 13. Voice gateway
Anche per Cisco VG400 series: Manuale di installazione dell'hardware (40 pagine), Manuale di configurazione del software (22 pagine)

Connect to Power Supply
Step 4
Connect the other end of the ground wire to a known reliable earth ground point at your site.
Connect to Power Supply
This section explains how to connect AC power to the voice gateway.
Warning
Read the installation instructions before using, installing or connecting the system to the power source.
Statement 1004
Warning
This product relies on the building's installation for short-circuit (overcurrent) protection. Ensure that the
protective device is rated not greater than: 20A Statement 1005
To connect the Cisco Voice Gateway to an AC power outlet, perform the following steps:
1. Connect the AC adapter to an AC power outlet.
2. Plug the adapter cord into the router.
Power-On Procedure
Perform this procedure to power on your Cisco VG400 Voice Gateway, and verify that it goes through its
initialization and self-test. When this is finished, the Cisco VG400 Voice Gateway is ready to configure.
To power on the Cisco VG400 Voice Gateway, perform the following:
Before you begin
Before you power on the Cisco VG400 Voice Gateway, ensure that:
• The chassis is securely mounted
• Power cable is connected
• Interface cables are connected
SUMMARY STEPS
1. Power on your terminal or PC, and configure it for 9600 bps, 8 data bits, 1 stop bit, and no parity.
2. Move the Cisco VG400 Voice Gateway power switch to the ON position.
3. Enter no to proceed with manual configuration using the CLI:
4. Press Return to terminate autoinstall and continue with manual configuration.
5. Press Return to bring up the Router> prompt:
6. Enter privileged EXEC mode:
7. Continue with the
Installing the Cisco VG400 Voice Gateway
10
Troubleshooting
section.
Installing the Cisco VG400 Voice Gateway
