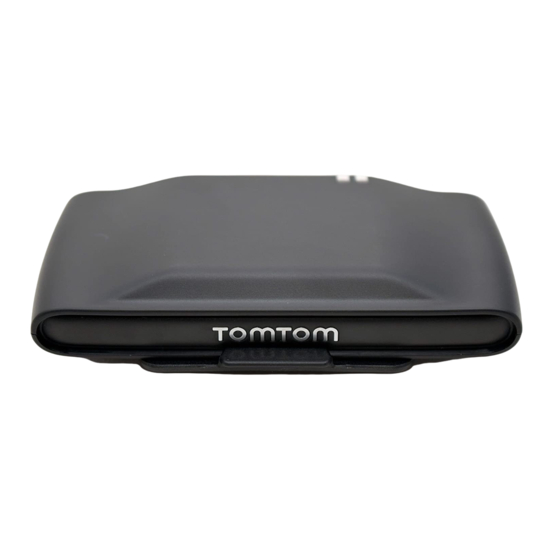
TomTom LINK 530 Manuale di installazione - Pagina 18
Sfoglia online o scarica il pdf Manuale di installazione per Sistema di navigazione per auto TomTom LINK 530. TomTom LINK 530 40.

Mounting the LINK 530
Your LINK 530 comes with an integrated mobile network antenna and an integrated GPS antenna.
Depending on the position you choose for the installation, you can install your LINK 530 without
external antennas.
The device must be positioned so that it is unobstructed by metal objects.
The device must not interfere with clear vision for the driver.
Tinted metallised windscreens or those with integrated filament heating may block GPS re-
ception.
Place the unit a minimum of 5 cm (2 inches) distance to the coachwork or other metal items,
so that optimal mobile network transmission and GPS reception is ensured.
The unit must be placed on an oil free, dry and clean surface, when using the adhesive strips.
Extreme temperature changes/differences can affect the adhesive property of the strips.
Before installing the device, please consider the
position.
The LINK 530 can be attached with the two adhesive strips, the two tapping screws or the cable
ties.
Attaching the holder using the adhesive strips
You can use the two adhesive strips to fix the LINK 530 to your vehicle. Follow the safety instruc-
tions in this document.
1. Choose a flat surface for accurate positioning of the unit.
Remember, when the LINK 530 is in the holder, it must not be obstructed by metal objects.
2. Clean the surface with the supplied cleaning tissue, so that the surface is oil free, dry and
clean.
3. Remove the protective film from one side of the strips.
4. Stick the strips to the bottom side of the holder as shown below.
Important: Use the strips only in combination with the holder. Do NOT place the strips on the
serial number sticker of the device.
5. Remove the protective film from the other side of both strips.
6. Place the holder with the adhesive strips on the prepared surface. Press it gently for a few
seconds until it sticks.
safety instructions
18
and
choose the correct
