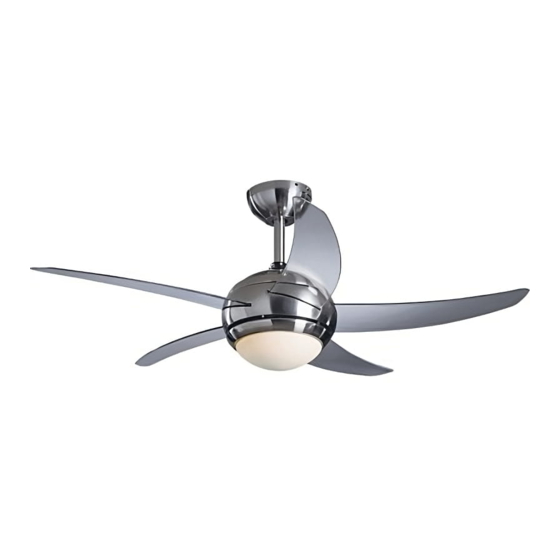
Argos Manhattan 432/8317 Istruzioni di montaggio - Pagina 2
Sfoglia online o scarica il pdf Istruzioni di montaggio per Ventilatore Argos Manhattan 432/8317. Argos Manhattan 432/8317 5. Remote control ceiling fan

FIGURE 1
EARTHED
MAINS SUPPLY
WASHERS
FIXING SCREWS
FIGURE 2
CANOPY
SCREW
BAYONET
SLOT
ROUND HOLE
FIGURE 3
N
DOWNROD
EARTH TERMINAL
LIGHT SUPPLY
L
(RED)
Important
WIRES TO FAN
RECEIVER
INCOMING MAINS SUPPLY
IMPORTANT
Please read these instructions carefully before attempting to install this
SCREWS
ceiling fan. It is also advisable to keep these instructions in a safe place
for future reference. Before installing and using this ceiling fan, read the
list of Do and Don'ts below.
For your safety, this product must be installed in accordance with Local
Building Regulations. If in any doubt, or where required by the law,
consult a competent person who is registered with an electrical
self-certificatin scheme. Further information is available online or from
MOUNTING
your Local Authority.
PLATE
CAUTION
Do not use the ceiling fan and open gas heating appliances in the same
room at the same time. It is important that the correct electical connec-
tions are made and that the mounting plate is fitted to an adequate cei-
ling support. Ceiling fans are heavy, so it is important that they should
be suspended securely. If in any doubt the installation of this product
consult a qualified electrician.
LOCATION
MOUNTING PLATE
When deciding on the location for your ceiling fan make sure that there
will be plenty of room for the rotation of the fan blades and that no obs-
BALL JOINT
tacles are likely to get in their way. The distacne between the fan blades
CANOPY
and the floor should be at least 2.3m (7½ft).
TOOLS AND MATERIALS REQUIRED
Crosshead and slotted screw drivers
1 X Max. 40W E14 bulb (Not included)
Step ladder
Insulatiing tape
RECEIVER
UNPACKING
Remove the upper polystyrene cover from the box. Take the motor out
of the box and place it on the polystyrene cover, or on a soft padded
surface to protect it during the installation procedure. keep all packing
material for future protection in transit.
INSTALLING THE MOUNTING PLATE
1. Unscrew the four screws on the ceiling canopy to release the mounting
plate (Figure 1). Secure the mounting plate to a ceiling joist, or an equally
secure ceiling structure using the two wood fixing screws and washers
supplied. The support for the mounting plate must be capable of safety
and securely holding the moving weight of the fan. Note that additional
strengthening of the joist might be necessary.
2. For best fan performance and safety, make sure the mounting plate is
fitted to a level ceiling joist or ceiling support. If the mounting position is
not level, hard packing material should be used to make the plate level.
INSTALLING THE FAN
1. Hang the ball joint and the fan onto the bracket. Ensure the groove in
the ball is lined up with tab on the hanger bracket. With the fan
N BLUE
suspended in this manner, you can now make the appropriate electrcal
(GREEN / YELLOE)
L BROWN
connections.
See the CONNECTION TO THE LIHGT CIRCUIT section.
2. Insert the remote control receiver between the bracket and the
downrod. And the sensor as shown. (Figure 2)
3. Fix canopy onto the bracket by tightening the screws. (Figure 4)
ASSEMBLY & FITTING INSTRUCTIONS
ASSEMBLY & FITTING INSTRUCTIONS
reference
