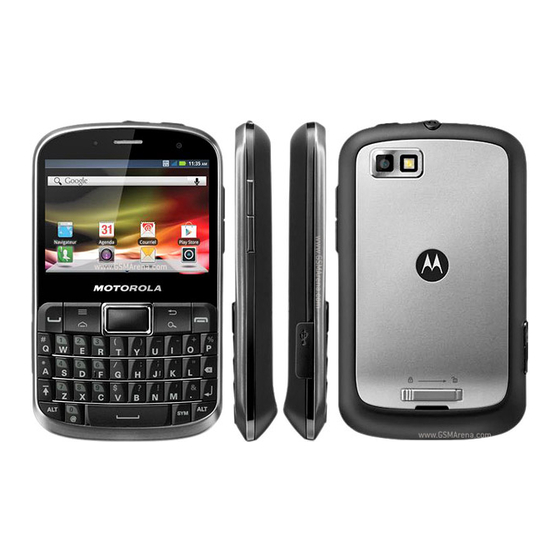
Motorola DEFY PRO Manuale d'uso - Pagina 6
Sfoglia online o scarica il pdf Manuale d'uso per Telefono cellulare Motorola DEFY PRO. Motorola DEFY PRO 44.

Tip: To save battery life, see "Battery tips" on page 27.
Set up & go
Note: This phone supports apps and services that use a
lot of data, so make sure your data plan meets your
needs. Contact your service provider for details.
When you turn on your new phone, you can create or
enter a Google™ account so that you can download
apps, use Gmail™, and much more:
1
Press and hold Power
on your phone.
2
Touch the android to begin setup.
Create
3
Touch a button to
Sign in
account,
with one you
Skip
have, or
.
You can log into your account from a computer at
accounts.google.com.
4
When your phone confirms the account, it shows
account sync options.
• To change whether your phone shows the Google
account's contacts, Gmail™, and calendar, touch
the Google account name.
• To add another account, touch
details, see "Email" on page 15.
• To exit setup, touch Home
4
Let's go
to turn
Power/Lock Key
a Google
Add account
.
If your phone cannot connect, press Menu
Settings
>
change mobile network settings.
Rugged
Your MOTOROLA DEFY PRO stands up to water, dust
and life. Now your investment is safe and protected
from life's little challenges, like that sudden rain shower
and other everyday mishaps.
Of course, your phone isn't indestructible, so to avoid
damage from natural elements, such as water, sand, and
dust intrusion, always make sure that the battery door
cover and connector covers are closed and secure.
If your phone gets wet and/or dirty:
•
Wipe with a soft cloth and shake to remove excess
water from the entire phone, especially the display
screen, speaker, and microphone ports.
•
Allow your phone to air-dry for at least 1 hour before
using it again.
•
Always make sure to clean all dirt and debris from the
battery door cover/seals and connector covers.
Note: Your phone is not designed to float or work
underwater.
. For
Wireless & networks
>
>
Wi-Fi settings
to
