Epson QX-10 Manuale operativo - Pagina 7
Sfoglia online o scarica il pdf Manuale operativo per Desktop Epson QX-10. Epson QX-10 45. Epson operations manual computer qx-10
Anche per Epson QX-10: Manuale operativo (46 pagine)

Getting Hooked Up
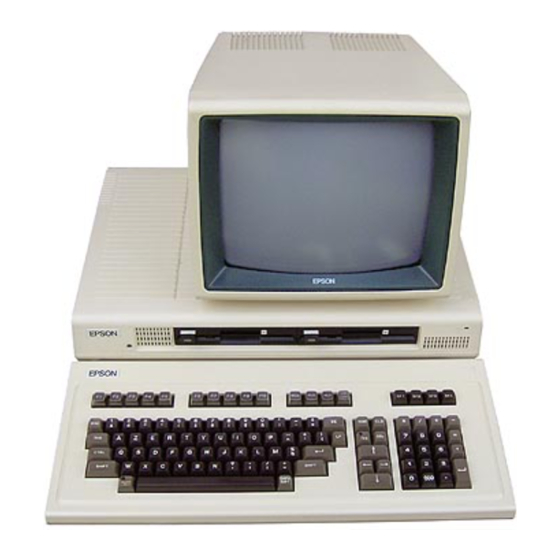
Now that all the boxes are unpacked, it's time to put the parts
together into a working system. Start with the main unit. That's
the one that looks like this:
Place it on the flat surface with the front facing you, as shown.
Remove the disk drive protector sheets from the two disk drives
(marked A and B) by pressing the button labelled PUSH located
at the left side of each drive. When you push it, the button pops
out, as does the edge of the protector sheet. Carefully pull out
both sheets and save them along with the other shipping materials.
Now turn the main unit around so that the back is facing you,
like so:
M O N I T O R P O R T - ,
LIGHT PEN PORT
POWER CORD
OUTLET
To connect the components of the QX-10, you'll use two of the
outlets on the back of the main unit. The power cord connects
to the large rectangular outlet on the left side, labelled CAUTION:
DISCONNECT POWER BEFORE SERVICING. The round monitor
outlet is where the monitor cable attaches to the main unit.
DIP SWITCHES
S P E A K E R
-
-
-
C O N T R O L
PRINTER
RS-232C
PORT
PORT
-
POP-OUT
OPTION CARD
ACCESS SLOTS
3
