Argus Cordex CXCM2 Procedura di sostituzione - Pagina 4
Sfoglia online o scarica il pdf Procedura di sostituzione per Controllore Argus Cordex CXCM2. Argus Cordex CXCM2 4.
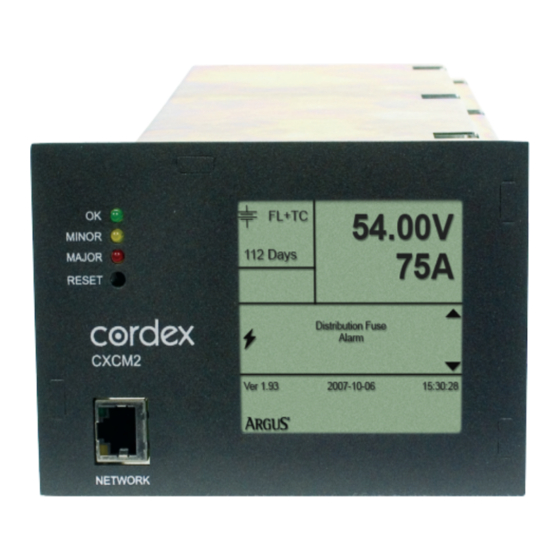
5. To remove CXCM2, turn the screw on the bottom of the faceplate a quarter- rotation clockwise. Grasp
thumbscrew and pull out of the shelf.
Replacement of CXCM2
6. To install a CXCM2, place on the top shelf, slide into position, and turn latch (near the bottom of the
faceplate) to secure to shelf.
CAUTION - Do not push on the LCD.
7. Connect the DB Connectors at CXCM2 first before connecting back the other end to the UDC I/O
Board.
8. Upload original configuration file to restore setup.
9. Use a meter to verify calibration of the system voltage, temperature and current shunt. Recalibrate if
needed following attached calibration procedure.
10. Remove LVD bypass.
Thank you for choosing Argus Technologies
4