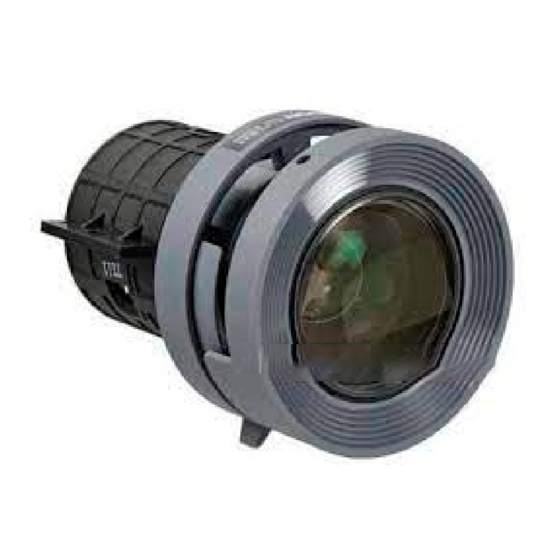
Epson PowerLite 7900p Projector
6. To remove the lamp cover, insert the screwdriver supplied
with the spare lamp (or another flat-tipped screwdriver),
into the space beside the air vent to gently lift the lamp
cover off.
Insert the screwdriver here
7. Loosen the two screws holding the lamp in place. (You
don't need to remove them.)
8. Grasp the wire handle as shown and pull the lamp straight
out.
9. Gently insert the new lamp.
10. Once the lamp is fully inserted, tighten its screws and
replace the cover. (The projector won't come on if the lamp
cover is loose.)
11. Reset the lamp timer as described in the next section.
22
Epson PowerLite 7900p Projector
-
1
Resetting the Lamp Timer
After you replace the lamp, you need to reset the lamp timer
using the projector's About menu.
1. Press the
Menu
projector's control panel to display the main menu.
2. Use the
pointer button on the remote control (or the
arrow buttons on the projector) to highlight
press
.
Enter
You see this screen:
Video
Video
Lamp
Lamp
Audio
Audio
Reset Lamp Timer
Reset Lamp Timer
Effect
Effect
Video Source
Video Source
Setting
Setting
Input Signal
Input Signal
User's Logo
User's Logo
Frequency
Frequency
Advanced1
Advanced1
Advanced2
Advanced2
SYNC Polarity
SYNC Polarity
About
About
Reset All
Reset All
SYNC Mode
SYNC Mode
Resolution
Resolution
Refresh Rate
Refresh Rate
[
[
]: Select
]: Select [
[
]: Enter
]: Enter
Note: The lamp usage timer shows
lamp for at least 10 hours.
3. Select
Reset Lamp
. You see this
Timer
prompt:
4. Select
.
Yes
5. When you're finished, press
Transporting the Projector
The projector contains many glass and precision parts. Follow
these guidelines to prevent injury or damage when
transporting it:
When hand-carrying the projector, you should use the
handle to carry it only a short distance (for example, to set
it on a table).
When shipping the projector for repairs, use the original
packaging material if possible. If you do not have the
original packaging, use equivalent materials, placing plenty
of cushioning around the projector.
When transporting the projector a long distance, first place
it in a hard-shell shipping case, and then pack it in a firm
box, placing cushioning around the case. (An optional ATA
shipping case is available from Epson; see the following
table.)
9/04
button on the remote control or the
:
1400H
1400H
Execute
Execute
:
Computer1
Computer1
: Analog-RGB
Analog-RGB
:
H ---.---kHz
H ---.---kHz
V ---.---Hz
V ---.---Hz
:
H ------
H ------
V ------
V ------
:
------
------
:
----x
----x
----
----
:
---.-- Hz
---.-- Hz
[Menu]: Exit
[Menu]: Exit
until you've used the
0H
or
ESC
Menu
, then
About
Lamp usage
to exit.

