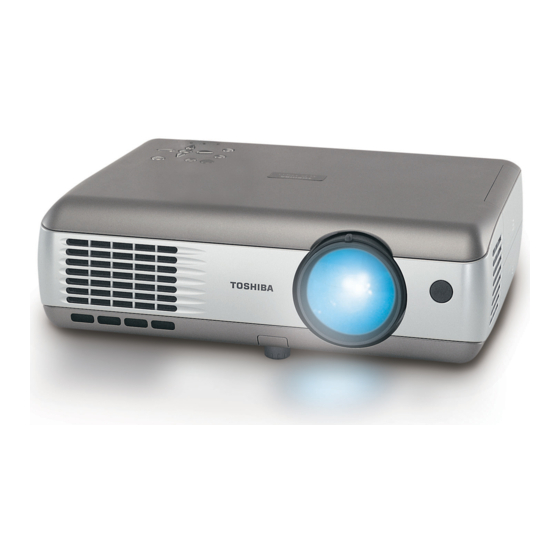
Toshiba TLP T721 Manuale d'uso - Pagina 23
Sfoglia online o scarica il pdf Manuale d'uso per Proiettore Toshiba TLP T721. Toshiba TLP T721 37. 3lcd data projector

Projecting images stored in a memory PC card (Continued)
The following functions can be used via remote control operation and menu settings.
Slide show function
• Press the remote control's
button when a slide is displayed to begin a slide show,
and cycle through the slides automatically.
The slides' display interval (time) can be set via the Interval setting on the PC card
setting menu
.
p.55
• To stop the slide show, press the remote control's
Auto. Demo function
• From the PC card setting menu
p.55
show begins automatically when a memory PC card is inserted and input switched to
PC card input. At this time, the JPEG files in the root directory of the memory PC card
are used in the slide show.
• From the PC card setting menu, Auto. is selected for Input select mode and On is
selected for Auto. Demo, and a memory PC card is mounted, then a slide show begins
automatically when the projector's power is turned on.
• To stop the slide show, press the remote control's
File deletion function
Select the file to be deleted, then press the
menu. Delete the selected file, referring to How to use the menu
card setting menu
p.55
.
button.
, On is selected for Auto. Demo, then a slide
button.
button to bring up the Setting display
p.53
and the PC
44
Using the document camera
Please read this chapter if the model you purchased includes a document camera.
I Preparation of the document camera
1) Set up arm
Status before preparation
(When stowed)
4) Extend
3) Rotate arm
camera
head
PRECAUTIONS
• Do not jolt or force the camera head or camera arm. Doing so could cause malfunction.
• Note that when extending or rotating the camera arm, the arm moves in an arc. Take
care not to bump yourself or others with it.
I Image projection with the document camera
1
Press the ARM LIGHT button.
The arm light comes on. (Press it again to turn off the light.
Use the light as needed, depending on the indoor lighting
conditions.)
2
Set up document to be photographed.
Place the document or other material on or near the camera, and point the camera
head at it.
Screen image
123
123
Set direction
2) Extend arm
5) Rotate
camera
head
W.BALANCE
OVERLAY
LOCK
STORE
CAMERA
IMAGE
GAIN
123
Move the arm and camera head to
place the document beside or behind
the camera.
45
ARM LIGHT
CAMERA
