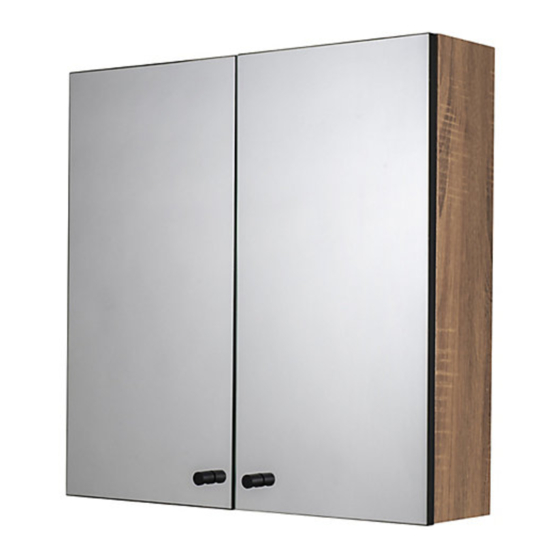
Croydex 5012044112446 Manuale di istruzioni per il montaggio - Pagina 4
Sfoglia online o scarica il pdf Manuale di istruzioni per il montaggio per Arredamento per interni Croydex 5012044112446. Croydex 5012044112446 8. Foil wrapped flat pack cabinets

6.
Locate the other top/bottom panel (I)
onto the left hand side panel and lock in
place by rotating the cam locks through
90° clockwise. Then locate the right hand
side panel and use the locking cams to
secure into place.
DO NOT OVERTIGHTEN!
ENSURE THAT ALL LOCKING CAMS ARE
FULLY LOCKED BEFORE PROCEEDING TO
THE NEXT STEP!
(See Fig. 6A & 6B)
fig. 6A
7.
Using two countersunk screws (D) attach
one door hinge (F) to a door panel (G).
Ensure the hinge sits in the circular recess in
the door properly.
DO NOT OVERTIGHTEN!
Repeat for both hinges on each door.
(See Fig. 7)
fig. 7
8.
Orientate the first door (G) relative to
the back panel of the cabinet (J) as shown
Fig.
8A. Then insert two countersunk
in
screws (D) through the vertical slots in the
top hinge (F) and into the two fixing holes
in the side panel (I). Tighten the screws (D)
to secure the top hinge to the side panel (I).
DO NOT OVERTIGHTEN!
for the bottom hinge, then repeat for the
remaining door.
(See Fig. 8A & 8B)
fig. 6B
Repeat these steps
fig. 8A
fig. 8B
9.
Attach the door handles (M) to each door
using the pan head screws (E).
ensure that the door handle washers (N) are
inserted between the door handle and the
door glass!
DO NOT OVERTIGHTEN!
(See Fig. 9)
fig. 9
DOOR HANDLE
WASHER (N)
10.
Remove the backing film from the
bump stops (O) to expose the adhesive
tape. Then attach one bump stop to each
corner of both doors as shown below.
Note: These must be affixed to the back of
the doors.
(See Fig. 9)
fig. 9
BUMP STOPS
ON INSIDE OF
THE DOORS
4
POSITION DOOR
HANDLE FIXING
HOLE AS SHOWN.
YOU MUST
CAB 150 R01
