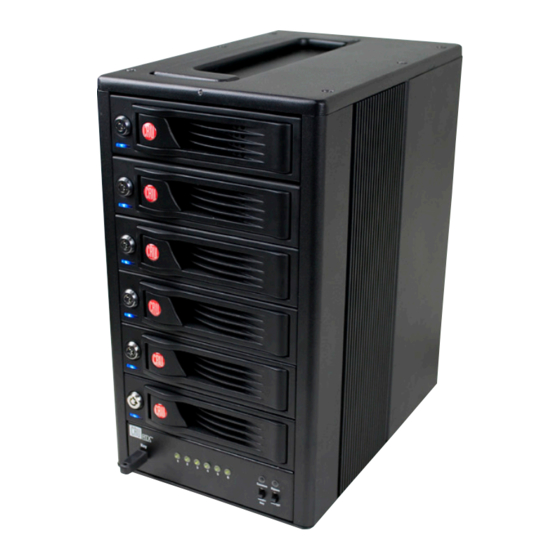
CRU Dataport RTX Secure 610-NJ Manuale di avvio rapido - Pagina 2
Sfoglia online o scarica il pdf Manuale di avvio rapido per Involucro CRU Dataport RTX Secure 610-NJ. CRU Dataport RTX Secure 610-NJ 2. Desktop

d. You can optionally secure each bay door
by inserting an RTX Key into its key lock
and turning it 90 degrees clockwise.
Doing so is not necessary to operate
the RTX Secure.
Sticker Card
Use the stickers on the provided sticker card
to label each drive if you plan to use Unique
Encrypted Mode (see Section 2.2). This will
prevent the drives from getting mixed up when they are removed from the bays.
2.2 Setting the Encryption Mode
The RTX Secure has three modes that determine how it handles Security Keys. The status
of the mode is determined at power up. After the unit has been successfully mounted by the
system, the Security Key may be removed and stored in a safe location. Changing the position
of the switches on the bottom of the RTX after the unit has successfully been mounted will
also not change the mode used at power up.
Unique Encrypted Mode
This is the most secure mode of operation. A Security Key is required to access data, and each
bay is loaded with its own unique 256-bit security value from the Security Key. These security
values are all stored in one Security Key. Flip the left switch on the bottom panel down to
"Unique" and the right switch down to "Encrypted."
Common Encrypted Mode
This mode allows hard drives to be located in different boxes after the array is formatted.
A Security Key is required to access data. Each bay uses the same security value from the
Security Key. Flip the left switch on the bottom panel up to "Common" and the right switch
down to "Encrypted." The Encryption Display Common Key LED will illuminate.
Bypass Mode
A Security Key is not required to access data. This option cannot be used with encrypted
hard drives. Flip the right switch on the bottom panel to "Bypass." This option disables the
Common/Unique switch. The Encryption Display Bypass LED will illuminate and the drive bay
Encryption Active LEDs will remain off.
2.3 Operating Your RTX Secure
a. Choose one of the connection types and connect the appropriate cable from your
computer to the corresponding port on the RTX.
b. Connect the RTX Secure to a power outlet with the included power cord.
c. Install the hard drives into the RTX Secure (See Section 2.1) if you have not already done so.
d. Set the desired encryption mode. (See Section 2.2)
e. If the drives being used in the RTX Secure are encrypted or are intended to be
encrypted, then insert the Security Key into the Mini-USB Security Key Port on the
bottom of the RTX Secure.
f. Flip the power switch on the rear of the unit to turn on the RTX Secure.
g. When using the Unique or Common Encrypted Modes, wait for each LED along
the bottom panel of the RTX Secure to light green. These encryption status LEDs
correspond to one of the TrayFree Bays above them with the leftmost LED representing
the top bay and the rightmost LED representing the bottom bay. When all encryption
status LEDs that correspond to a bay with a drive inside are lit green, encryption is
activated and the Security Key may be removed and stored in a safe location.
When hard drives are first used with the RTX Secure they will show up as blank, unallocated
drives and you'll need to format the drives before you can use them. Note that formatting a
drive will erase all data on the drive, so be sure to back up your data before install-
ing the hard drives into this enclosure and beginning this operation. See Section 4 for
instructions on how to format the drive with Mac or Windows operating systems.
3. Encryption
•
The RTX Secure uses full disk hardware encryption to encrypt the entire contents of the drive
- including the boot sector, operating system and all files - without performance degradation.
•
The encryption key must be installed prior to powering on the RTX Secure for the data
to be accessed on the drive. If the key is externally connected to the Mini-USB Security
Key Port and is not internally installed, then once it has been accepted, it may be
removed and stored in a safe location. Always store Security Keys apart from the data
so that in the event that the drive is lost or stolen, the data is protected.
•
When a drive is formatted using an encryption key, the same or a duplicate key must be
used in order to access the data. There is no "back door" to access the data; lost keys
make data recovery virtually impossible.
