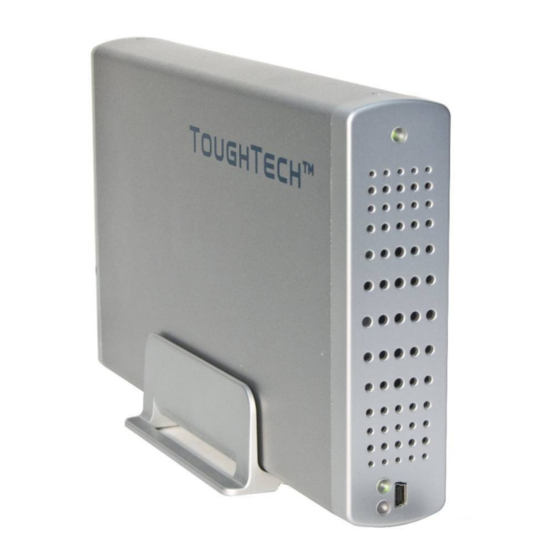
CRU Dataport TTS-Q Manuale d'uso - Pagina 3
Sfoglia online o scarica il pdf Manuale d'uso per Involucro CRU Dataport TTS-Q. CRU Dataport TTS-Q 12. Hard drive enclosure

CRU
1.3 Warnings and notices
Please read the following before beginning installation.
(Secure model only) Only use the encryption key with the encryption slot on the front of ToughTech
Secure. Never insert the key into a mini-USB port, such as the one on the rear of ToughTech
Secure! Inserting an encryption key into a mini-USB port will damage the key and render it useless,
which can lead to loss of data.
The main circuit board of the HDD enclosure is susceptible to static electricity. Proper grounding is
required to prevent electrical damage to the enclosure or other connected devices, including the
computer host. Always place the HDD enclosure on a smooth, flat surface and avoid all dramatic
movement, vibration and percussion.
Avoid placing the HDD enclosure close to magnetic devices (such as a speaker), high-voltage
devices (such as a hair dryer), or near a heat source, including any place where the product will be
subject to direct sunlight. Do NOT allow water to enter the HDD enclosure.
The operating system may NOT detect the HDD enclosure if it does not support the interface of your
HDD enclosure. If so, installation of an appropriate driver on the host computer is required.
2. Installation Steps
2.1 Hard drive installation
These instructions are only necessary if you're installing your own hard drive inside the
ToughTech. If you purchased the product with a hard drive pre-installed, you may skip to the next
section (Connecting ToughTech to a Computer).
2.1.1
If the rear panel is secured with screws, remove them using a small Phillips screwdriver. (For your
convenience, empty enclosures are usually shipped with these screws already removed. They should be
located in the same plastic bag as the hard drive screws.)
2.1.2
Push the bottom panel out of the housing. Adequate pressure must be applied to slide it out.
U s e r M a n u a l f o r T T - Q , T T S - Q ( A9 - 0 0 0 - 0 0 0 1 r e v 1 . 5 )
When disassembled, the enclosure will
appear similar to the picture below.
- 3 -
