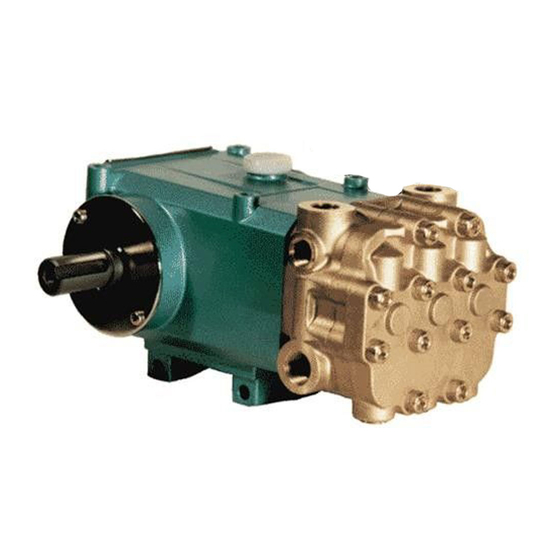
ARIMITSU 5 Series Informazioni sull'installazione e sull'avvio - Pagina 2
Sfoglia online o scarica il pdf Informazioni sull'installazione e sull'avvio per Pompa dell'acqua ARIMITSU 5 Series. ARIMITSU 5 Series 6.

SERVICING THE FLUID END
Seal Service follow steps 1 – 3, & 7 - 19
1. Loosen (do not remove) outer bolts (6mm) of Manifold
Assembly. These 8 bolts will be removed later for valve
inspection. Remove center 4 bolts (6mm).
2. Gently pull Manifold Assembly away from crankcase. Be
careful to pull straight to avoid damaging Plungers. Rotation
of Crankshaft may aid in separating Manifold Assembly from
Crankcase Assembly.
3. Lay Manifold Assembly on work surface and remove 8 outer
bolts. Manifold Assembly should separate easily to allow
access to Valve Assemblies. Inspect Manifold O-Rings for
damage and replace if necessary. [Note: For Valve Service
continue to Step 4, for Seal Service skip to Step 7.]
4. Inlet Valves are larger than Outlet Valves for 508 & 511. Model
516 Valves are the same. Grasp Valve Cage with pliers and
gently rock and pivot until Valve comes free.
5. Examine Valves for damage such as pitting, gouging, or
broken parts. If damaged, replace with parts referenced in
the kit reference chart on page 3.
6. Install Valve Assemblies according to type and hole size.
Valve Gasket can be fit around and pushed after Valve
Assembly has been installed. Be careful not to roll Valve
Gasket edge over during installation. Valve Gasket should
be flat without bulges around Valve Seat.
7. Examine Plungers for cracks or surface damage. Replace
Plunger and Gasket if damaged as follows:
a. Remove Plunger Bolt (mm), Gasket and Plunger
Support.
b. Inspect and clean Support.
c. Place new Gasket on Plunger Bolt, then New Plunger,
and finally Support. Note: Support end of Plunger has
an identifying mark or dot.
d. Install assembly into Connecting Rod end and torque
to 5 ft. lbs.
[Note; For Seal Service continue with Step 8. To complete
Valve service skip to Step 13.]
8. Remove Seal Retainer, V packing, Spreader and Wave Washer
from ported manifold. Inserting a plastic driver in the wave
washer area may aid the process. Inspect seal bore for
damage and clean if necessary.
9. The Vacuum Seal can be removed from the inside of Seal
Retainer with a plastic driver, to avoid scratching surface.
Inspect for damage. Complete Seal Service with parts
referenced in the kit reference chart on page 3.
