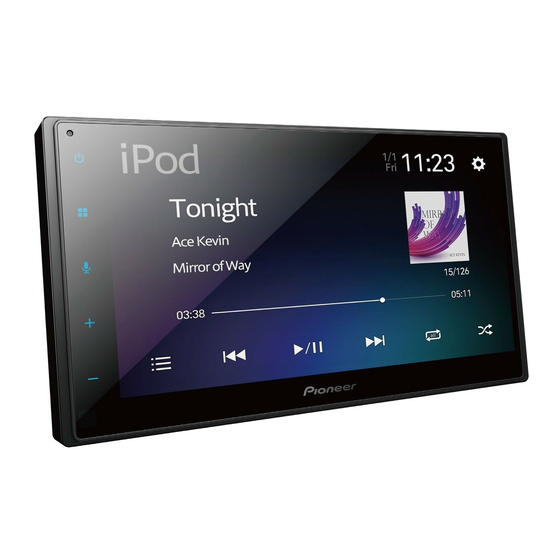
Pioneer DMH-160BT Manuale di installazione - Pagina 6
Sfoglia online o scarica il pdf Manuale di installazione per Ricevitore Pioneer DMH-160BT. Pioneer DMH-160BT 29. Rds av receiver
Anche per Pioneer DMH-160BT: Manuale d'uso (33 pagine)

WARNING
USE INPUT ONLY FOR REVERSE OR MIRROR
IMAGE REAR VIEW CAMERA. OTHER USE
MAY RESULT IN INJURY OR DAMAGE.
CAUTION
• The screen image may appear reversed.
• With the rear view camera you can keep
an eye on trailers, or back into a tight
parking spot. Do not use for
entertainment purposes.
• Objects in rear view may appear closer or
more distant than in reality.
• The image area of full-screen images
displayed while backing or checking the
rear of the vehicle may differ slightly.
This product
Connector 1
Power supply
To connector 1
To power supply
Power cord
Brown (REAR VIEW CAMERA IN)
Violet/white (REVERSE-GEAR SIGNAL
INPUT)
6
En
Refer to Power cord on page 3.
RCA cable (sold separately)
To video output
Rear view camera (sold separately)
NOTES
• Connect only the rear view camera to
REAR VIEW CAMERA IN. Do not connect
any other equipment.
• Some appropriate settings are required
to use rear view cameras. For details, refer
to the Operation Manual.
External video
component and the
display
This product
Pre out supply
Connector 2
To connector 2
To pre out supply
Pre out cord
Mini-jack AV cable (sold separately)
AUX input (AUX IN)
Yellow (REAR MONITOR OUT)
Yellow
Red, white
RCA cables (sold separately)
To video input
Rear display with RCA input jacks
To video output
To audio outputs
External video component (sold
separately)
NOTE
The appropriate setting is required to use
the external video component. For details,
refer to the Operation Manual.
WARNING
NEVER install the rear display in a
location that enables the driver to watch
the video source while driving.
This product's rear video output is for
connection of a display to enable
passengers in the rear seats to watch the
video source.
CAUTION
Be sure to use a mini-jack AV cable (sold
separately) for wiring. If you use other
cables, the wiring position might differ
resulting in disturbed images and sounds.
L : Left audio (White)
R : Right audio (Red)
V : Video (Yellow)
G : Ground
