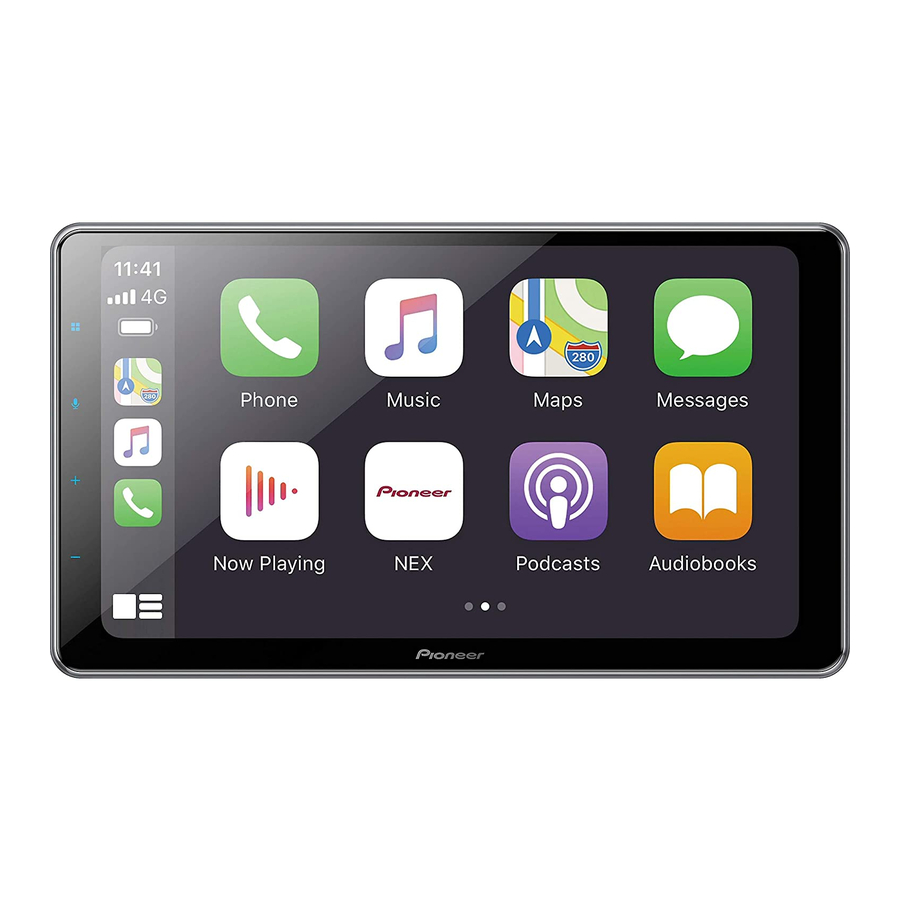
Pioneer DMH-WT86NEX Manuale di installazione - Pagina 3
Sfoglia online o scarica il pdf Manuale di installazione per Ricevitore Pioneer DMH-WT86NEX. Pioneer DMH-WT86NEX 21. Rds av receiver
Anche per Pioneer DMH-WT86NEX: Istruzioni per l'aggiornamento del firmware del sistema (9 pagine)

• The black lead is ground. When installing
this unit or power amp (sold separately),
make sure to connect the ground wire
first. Ensure that the ground wire is
properly connected to metal parts of the
car's body. The ground wire of the power
amp and the one of this unit or any other
device must be connected to the car
separately with different screws. If the
screw for the ground wire loosens or falls
out, it could result in fire generation of
smoke or malfunction.
Ground wire
POWER AMP
Other devices
Metal parts of car's
(Another electronic
body
device in the car)
*1 Not supplied for this unit
• When replacing the fuse, be sure to only
use a fuse of the rating prescribed on this
product.
• When disconnecting a connector, pull the
connector itself. Do not pull the lead, as
you may pull it out of the connector.
• This product cannot be installed in a
vehicle without ACC (accessory) position
on the ignition switch.
ACC position
No ACC position
• To avoid short-circuiting, cover the
disconnected lead with insulating tape. It
is especially important to insulate all
unused speaker leads, which if left
uncovered may cause a short circuit.
• For connecting a power amp or other
devices to this product, refer to the
manual for the product to be connected.
• The graphical symbol
placed on
the product means direct current.
Notice for the blue/
white lead
• When the ignition switch is turned on
(ACC ON), a control signal is output
through the blue/white lead. Connect to
an external power amp's system remote
control terminal, the auto-antenna relay
control terminal, or the antenna booster
power control terminal (max. 300 mA 12
V DC). The control signal is output
through the blue/white lead, even if the
audio source is switched off.
Important
When this product is in [Power OFF] mode,
the control signal is also turned off. If
[Power OFF] mode is canceled, the control
signal is output again and the antenna is
extended with the auto antenna function
(if the antenna is being used). Be careful so
that the extended antenna does not come
into contact with any obstacles.
Rear panel (main
terminals)
▶DMH-WT8600NEX/DMH-
WT7600NEX/DMH-WT86NEX/DMH-
WT76NEX/DMH-WC6600NEX/DMH-
WC5700NEX
▶DMH-W4660NEX/DMH-W4600NEX
GPS antenna 3.55 m (11 ft. 8 in.)
Microphone 3 m (9 ft. 10-1/8 in.)
iDatalink or Metra adaptor input
Refer to the instruction manual for the
iDataLink or Metra adaptor (sold
separately).
Monitor cable connector*
Connect to LCD screen.
Antenna jack
This product
Pre out supply
Power supply
Fuse (10A)
Wired remote input
Hard-wired remote control adaptor can
be connected (sold separately).
SiriusXM® Connect Vehicle Tuner
Refer to the instruction manual for
SiriusXM Connect Vehicle Tuner (sold
separately).
* Monitor cable and connector are in the front
panel. (DMH-WT8600NEX, DMH-WT7600NEX,
DMH-WT86NEX, DMH-WT76NEX)
NOTES
• Before using and/or connecting the
iDatalink Maestro adaptor (sold
separately), you will need to first flash the
Maestro module with the appropriate
vehicle and head unit firmware. You can
find the device number that is required
for the activation on the followings (refer
to the Operation Manual.):
– The label on the packaging of this
product
– The label on this product
– The [Firmware Information] screen
• When the iDatalink Maestro adaptor is
connected, use the microphone of this
unit to perform voice operations for
Apple CarPlay, Android Auto, or Amazon
Alexa.
• SiriusXM and all related marks and logos
are trademarks of Sirius XM Radio, Inc. All
rights reserved.
En
3
