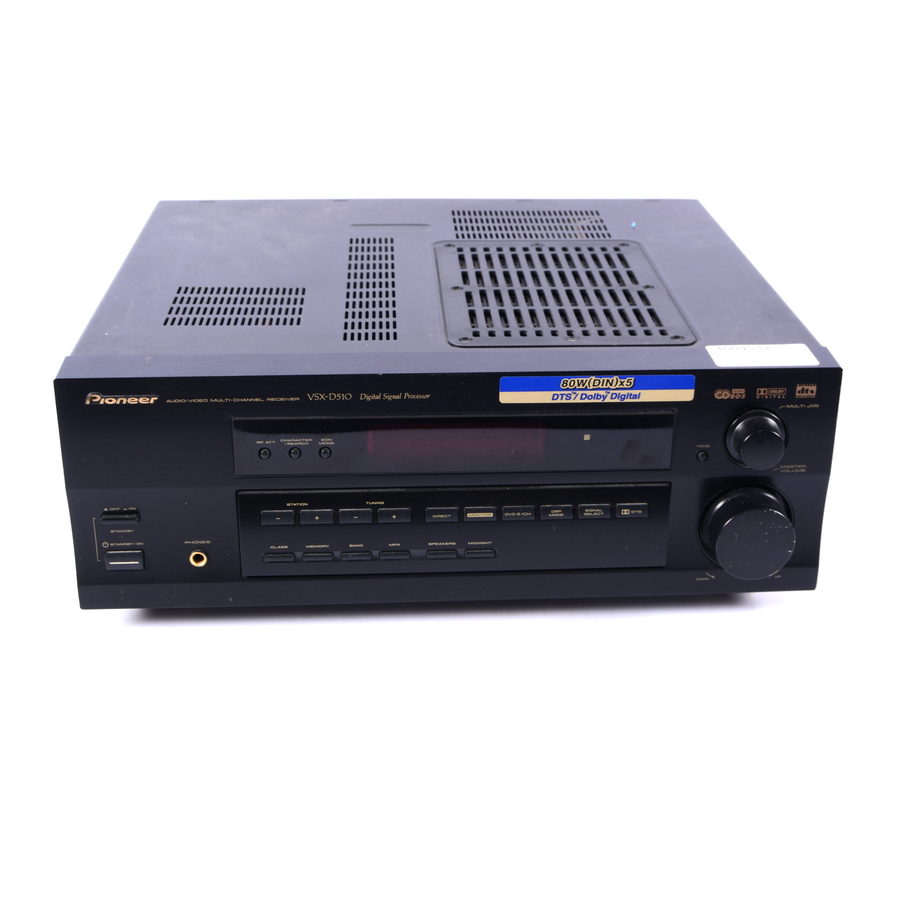
Pioneer VSX-D510 Manuale di istruzioni per l'uso - Pagina 29
Sfoglia online o scarica il pdf Manuale di istruzioni per l'uso per Ricevitore Pioneer VSX-D510. Pioneer VSX-D510 36. Audio/video multi-channel receiver
Anche per Pioneer VSX-D510: Manuale di istruzioni per l'uso (40 pagine), Manuale di servizio (14 pagine)

Controlling the Rest of Your System
Setting Up the Remote Control
Recalling preset codes
The following steps show you how to recall preset codes
for each
MULTI CONTROL
is assigned, pressing the button will automatically set the
remote to operate the respective component.
MEMO:
• Refer to "Preset Code List" on page 33 for the
components and manufacturers available.
• Refer to "Controlling the Rest of Your System" on
pages 31-32 for detailed explanations on how to
operate your other components.
MULTI CONTROL
DVD/LD TV/SAT VCR/DVR
CD-R/
RECEIVER TUNER
TAPE/MD
1
2
DSP MODE MIDNIGHT 5.1CH
1
2
CHANNEL
TEST
ATT
SELECT
TONE
5
6
CHANNEL
LEVEL
9
0
FUNC
TV CONTROL
VOL
FQ
ST
ENTER
MENU
FQ
SOURCE CLASS
MPX
7
8
D.ACCESS
1
¡
4
LOUDNESS FUNCTION MUTING
FL
REMOTE
RECEIVER
DIMMER
SETUP
AUDIO/VIDEO PRE-PROGRAMMED
REMOTE CONTROL UNIT
1 Press
REMOTE SET UP
time to select the preset mode.
dB
The LED on the remote control starts to blink.
To cancel the preset mode at any time
Press
REMOTE SET UP
.
2 Press the
MULTI CONTROL
component you want to control.
Each button can be set to control one of the
following components
: DVD or LD player
DVD/LD
: TV or Satellite tuner
TV/SAT
: VCR or Digital Video Recorder
VCR/DVR
: CD player
CD
: CD Recorder or Tape deck or MD player
CD-R/TAPE/MD
: TV or Cable TV tuner
TV CONT
button. Once the preset code
Î
LED
CD
2
TV CONT
4
3
4
SIGNAL
SELECT
7
8
EFFECT
‡
ENTER
10
DISC
CH
VOL
3
ST
TOP
MENU
BAND
3
CHANNEL
¢
MASTER
1,5
VOLUME
and
at the same
1
dB
button for the
The LED lights steadily and the first manufacturer
(and preset code(s)) appear in the display.
If no commands are entered the receiver
automatically exits the preset code mode after 20
seconds.
3 Press % or fi repeatedly to display the name
of the component's manufacturer.
dB
dB
dB
If necessary, press @ or # to see if an alternative
code from the same manufacturer is available.
A list of all available preset codes is provided on page
33.
If no commands are entered the receiver
automatically exits the preset code mode after 20
seconds.
4 Point the remote toward the component to
be controlled, enter the
When you enter the setup code, the remote emits a
power ON/OFF signal. If the component turns ON or
OFF , you have entered the proper code.
If the component does not turn ON or OFF and there
is more than one setup code, press @ or # to select
another code in step 3 or try inputting another code
(starting again from step 2).
Some manufacturers use several sets of remote
control signals and the first code may not correspond
to your component.
dB
dB
Repeat steps 2 through 4 to assign preset codes
for as many components as necessary.
5 Press
REMOTE SET UP
mode.
The remote control returns to the previous operation
mode.
dB
dB
digit setup code.
3
dB
dB
to exit the preset
09
29
En
