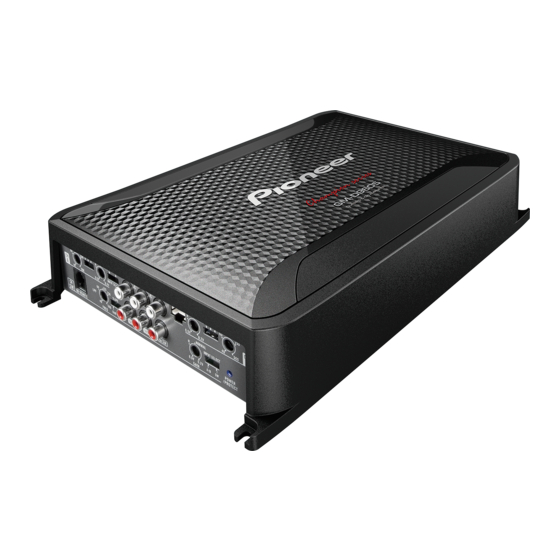
Pioneer GM-D9605XEEL Manuale di servizio - Pagina 5
Sfoglia online o scarica il pdf Manuale di servizio per Amplificatore Pioneer GM-D9605XEEL. Pioneer GM-D9605XEEL 29. Bridgeable four-channel power amplifier

5
Note : Even if the unit shown in the photos and illustrations in this manual may differ from your product,
the procedures described here are common.
Apply the glue (TB1401B or TB1401M) onto screws fixing the PCB and holders. Screws may loosen if the glue
is not applied.
When you replace parts that are applied silicon glue, re-apply silicon glue to the same place after replacing.
1.4 NOTES ON ADJUSTMENT
Some of the adjustment is required when the part is replaced.
Pease refer to "8. EACH SETTING AND ADJUSTMENT".
1.5 OTHERS
For environmental protection, lead-free solder is used on the printed circuit boards mounted in this unit.
Be sure to use lead-free solder and a soldering iron that can meet specifications for use with lead-free solders for repairs
accompanied by reworking of soldering.
2. SPECIFICATIONS
2.1 SPECIFICATIONS
For all items except the backup current, refer to the Owner's Manual.
Backup current ................................. 1 mA or less
5
6
Align the bottom of a transistor or a diode with the
top of the PC board, and solder it.
Apply grease, GEM1057 to the back of the part.
Put a paper between the block and the Amp Unit,
and outline transistors and diodes.
Put a part to replace in the outline.
GM-D9605/XEEL
6
7
7
8
A
B
C
D
E
F
5
8
