Pioneer PRV-LX1 Manuale di istruzioni per l'uso - Pagina 31

Sfoglia online o scarica il pdf Manuale di istruzioni per l'uso per Lettore DVD Pioneer PRV-LX1. Pioneer PRV-LX1 38. Dvd-video recorder
Anche per Pioneer PRV-LX1: Bollettino informativo sul prodotto (5 pagine), Avvio rapido (5 pagine), Manuale supplementare (1 pagine), Manuale del protocollo di comando (20 pagine), Manuale del protocollo (14 pagine), Modifica dell'elenco delle decisioni (6 pagine), Manuale del software (24 pagine), Manutenzione (5 pagine), Bollettino informativo sul prodotto (6 pagine), Manuale di aggiornamento (2 pagine), Aggiornamento del sistema (10 pagine), Aggiornamento del sistema (10 pagine), Manuale di formazione (38 pagine), Manuale (38 pagine)
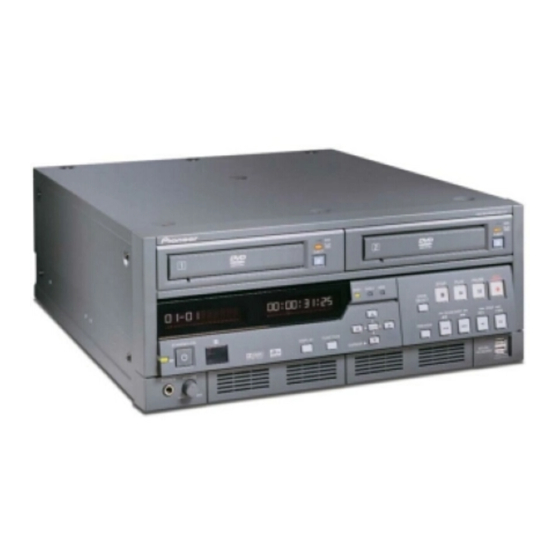
Pioneer PRV-LX1 Manuale di istruzioni per l'uso
A
B B
PPENDIX
UILDING
Although the MMH application provides a selection of button templates, users have the ability to
create/add custom button templates to the program. Add your button template to the Button Templates
folder under the MMH application folder. The next time the application is launched, the new button
template will be available.
The MMH application requires that each layer to be present and correctly labeled. A template is a multi-
layer psd file containing the following layers (and/or layer sets) in the exact order listed below: Unless
otherwise stated, colors used to indicate shapes or areas are arbitrary.
• Button Text (Test Size Only)
• Btn Tmpl
• Prev Tmpl
• Next Tmpl
• Note: ...(example lists Note: Uncheck: "Remove "
• Menu Title (Test Size Only)
• Title Area
• Color Table
[bottom layer]
For a better understanding of button template development, experiment with a copy of an existing MMH
button template. Try turning off one or more links within a layer, change some shapes, apply blend
properties, create new masks, etc. Once again, DO NOT change the layer order or delete layers.
Follow the instructions below to make a copy of a MMH button template.
1. Access the Button Templates folder under the Menu Maker Helper application folder.
2. Open the Shiny Ring Button.psd file in Photoshop.
Photoshop 7.0 users: accept the vector update when opening this file.
3. Use the Save As command to create a copy of this file to any temporary folder on your PC.
4. Rename this file to Test-Template, keeping the psd file extension.
5. Collapse each layer set to the primary layer (named above) but DO NOT change the order of
the layers.
6. Practice making changes to the template, paying attention to the layer guidelines below.
For clarity, turn off all layers then activate and expand only the layer to be changed.
Button Text (Test Size Only)
The purpose of the template's Button Text layer is to check the text size on a button. Although
this layer is independent of (not linked to) other layers, it is not rasterized. Do NOT transform
this layer. However, as other layer elements are changed or moved, size and location
adjustments to this layer may be necessary. Simply use the Photoshop Text tool to decrease or
increase the font size or use the Move tool to place the text in conjunction with a button graphic.
To change the text color or size, use the text options within the DVD Menu Maker program.
A B
T
UTTON
EMPLATE
[top layer]
Page 31 of 38
Menu Maker Helper