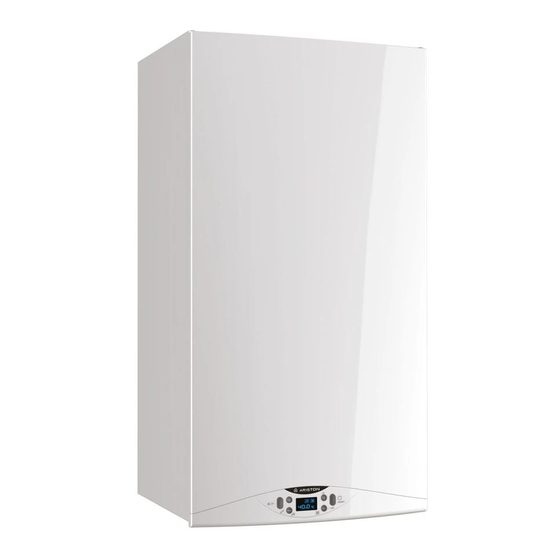
Ariston HS PREMIUM Istruzioni tecniche - Pagina 14
Sfoglia online o scarica il pdf Istruzioni tecniche per Scaldabagno Ariston HS PREMIUM. Ariston HS PREMIUM 32. Condensing wall thermal power plant

Machine Translated by Google
INSTALLATION
CAREFUL
BEFORE ANY INTERVENTION AT THE
POWER PLANT, SWITCH OFF THE POWER
SUPPLY WITH THE HELP OF THE EXTERNAL BIPOLAR
SWITCH.
Electrical connections
For greater safety, have qualified personnel inspect the electrical system
carefully.
The manufacturer is not responsible for any damage caused by failure
to ground the system or power outages.
Check that the installation is suitable for the maximum power absorbed
by the boiler and indicated on the stamp plate.
Check that the cable section is suitable, not less than 0.75 mm2 in any
case. Proper connection to an efficient earthing system is essential to
ensure the safety of the device.
The power cord must be connected to a 230V-50Hz mains with respect
to LN polarization and grounding.
If the power cord is damaged, it must be replaced by a qualified
technician using original parts available from the manufacturer or an
authorized service center.
Power cord
60
N
I
IMPORTANT!
CONNECTIONS TO THE ELECTRICAL NETWORK MUST
BE MADE WITH A FIXED CONNECTION (NOT WITH A
MOBILE PLUG) AND EQUIPPED WITH A BIPOLAR
SWITCH WITH A CONTACT OPENING DIST OF AT
LEAST 3 MM.
Multiple sockets, extension cords or adapters are prohibited.
It is forbidden to use the pipes of the sanitary, heating and gas
installation for the construction of the earthing installation of the appliance.
The boiler is not protected against the effects of lightning. If
network fuses need to be replaced, use fast 2A fuses.
14 /
H05V2V2-F
Connecting accessories and peripheral equipment
To access the connection of accessories and a
peripheral equipment:
- Disconnect the boiler from the power supply
- Unlock and remove the control panel cover
I
TA1
I KNOW
peripheral
BUS - = camera sensor connection (device
modulating)
SE - External Probe
TA1 - Room thermostat 1
Note: The limit thermostat for underfloor heating can be connected in series
with TA1 thermostat - see diagram on next page.
Connecting the room thermostat
- Insert the thermostat wires into the opening next to it
connector
- Connect the wires to terminal
TA1, removing the factory
connected bridge
- Replace the control panel cover
I
BUS
OK
