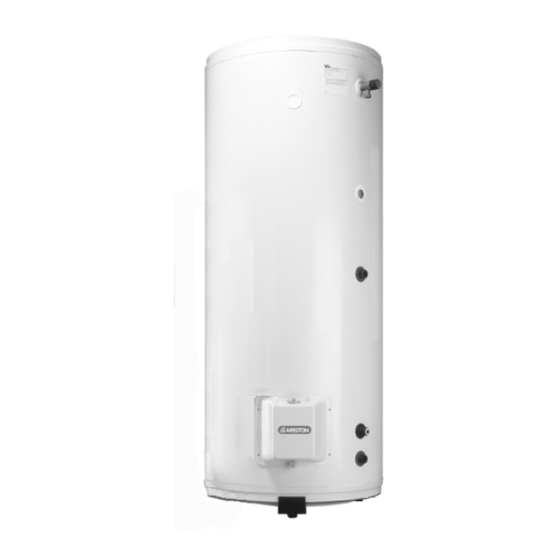
Ariston ST 100 ProTech Manuale d'uso - Pagina 5
Sfoglia online o scarica il pdf Manuale d'uso per Scaldabagno Ariston ST 100 ProTech. Ariston ST 100 ProTech 16. Unvented hot water storage cylinders
Anche per Ariston ST 100 ProTech: Manuale di istruzioni per l'installazione e l'uso (24 pagine), Istruzioni per l'installazione, la manutenzione e l'uso (36 pagine), Istruzioni per l'installazione, la manutenzione e il funzionamento (34 pagine)

3) Close taps in turn after having purged the system of air.
4) Check for leaks around the controls and Immersion Heaters and again after the unit has heated up.
5) Check that no water is passing to waste through the relief valves.
6) Test the operation of the Temperature & Pressure Relief and Expansion Valves by lifting/turning the manually operated
test lever/cap and observing that water flows through freely and safely to waste.
7) Check that the discharge pipe is plumbed so that it falls continuously and that no taps, valves or other shut off devices
are installed in the pipe.
8) Check that all thermostats are set at 60°C.
9) DIRECT UNITS. Switch on Immersion Heater(s) and allow unit to heat up. Check operation of Thermostat(s).
10) INDIRECT UNITS. Fill the indirect (primary) circuit following the boiler instructions. Switch on the boiler, ensure that the
programmer is to Domestic Hot Water. Allow unit to heat up and check operation of indirect thermostat on motorised
valve(s).
11) Demonstrate operation to user, including operation of Temperature & Pressure Relief Valve and what to do if it
operates.
12) Give this book to the user to retain for future reference and make the customer aware that periodic checks of the
equipment are essential for safety.
MAINTENANCE
No longer than every 12 months, the installer should check the Magnesium Anti-corrosion Anodes (consult the label on the
face of the unit for the correct location). Assessment of the condition of the bottom anode can be made by judging the
condition of the top anode.
If the heating element is heavily coated with scale we recommend descaling at the time of this inspection. The Expansion
Vessel may need to be recharged periodically by your installer.
WARNING : SWITCH OFF THE POWER SUPPLY BEFORE WORKING ON THE APPLIANCE.
If the Thermal Cut-Out has operated the cause must be found before resetting.
Removal of top & bottom Anodes;
1) Close the mains supply service valve.
2) Open hot water taps.
3) Attach a hose and open the drain cock and allow the cylinder to empty.
4) The anodes are removed by unscrewed using an Allen key.
EXAMINE THE ANODES AND REPLACE IF THE DIAMETER IS LESS THAN 10mm.
The use of P.T.F.E. sealing tape is recommended to ensure watertight connection for Anodes.
Descale the Immersion Heater(s) and remove any lime deposit from the cylinder. Replace in reverse order. THIS DOES
NOT APPLY TO COMFORT MODELS.
Check controls as per the following:-
1) Check and clean the Line Strainer before refilling the system.
2) Check pressure in Expansion Vessel and top up as necessary.
3) Check manually by lifting the test lever, the Temperature & Pressure Relief Valve.
4) Check manually by turning the test knob the Expansion Relief Valve.
5) Check discharge pipes from both Temperature & Pressure Relief and Expansion Relief Valve for obstructions.
- 8 -
FAULT FINDING
FAULT
POSSIBLE CAUSES
1) Mains Cold Water
supply shut off
NO HOT WATER
2) Line Strainer
FLOW
blocked
3) Cold Water
Combination valve
fitted incorrectly
1) Low Mains Water
Pressure
REDUCED FLOW
2) Line Strainer
RATE
partially blocked
3) Size of Service
Pipe too small
1) Direct Immersion
Heater is not
switched on
2) Direct Thermal
Cut-Out has
operated
WATER FROM
3) Boiler Programmer
HOT TAPS
set to Central
IS COLD
Heating only
(Indirect models)
4) Boiler is not
functioning
(Indirect models)
5) Indirect Thermal
Cut-Out has
operated
6) Motorised valve
jammed or not
wired correctly
(Indirect models)
DISCHARGE FROM
1) Pressure above 7
PRESSURE/
bar, failure of
TEMPERATURE
Pressure Reducing
RELIEF VALVE
Valve. Temperature
above 90 C failure
of thermal control
DISCHARGE FROM
1) Continually.
EXPANSION
Pressure Reducing
VALVE
Valve faulty
When heater is heating
Faulty Expansion
Vessel or lost charge
REMEDY
Check and open Isolating
and/or Stop Valve. Check
water, Local Water Authority
Turn off mains water supply,
remove Line Strainer and
clean
Check direction of flow
arrows on valve, refit in
correct position if necessary
Check pressure, consult
Local Water Authority if
necessary
Turn off mains water supply,
remove Line Strainer and
clean
Increase to size stated on
page 4
Check Immersion Heater,
switch on if necessary
Test Thermostat operation
and wiring, if faulty,
correct/replace. Reset Cut-Out
Check switch on Domestic
Hot Water if necessary
Check boiler operation, if
fault suspected consult
Manufacturer's Instructions
Test Thermostat operation
and wiring, if faulty,
correct/replace. Reset
Cut-Out
Check wiring and operation of
Motorised Valve correct/
replace as necessary
Shut down boiler or immersion
heater. Check pressure
Reducing Valve and Thermal
Controls. Replace if
necessary
Check pressure from valve.
Replace if over 3.5 bar
Check charge of vessel. Re-
charge vessel to 3.5 bar or
replace if necessary
- 9 -
