Whirlpool Cabrio,- WED7300X Manuale d'uso e manutenzione - Pagina 11

Sfoglia online o scarica il pdf Manuale d'uso e manutenzione per Asciugatrice Whirlpool Cabrio,- WED7300X. Whirlpool Cabrio,- WED7300X 32. Top-loading high efficiency low-water washer
Anche per Whirlpool Cabrio,- WED7300X: Manuale d'uso e manutenzione (40 pagine), Manuale d'uso e manutenzione (40 pagine), Manuale d'uso e manutenzione (36 pagine), Manuale di installazione (16 pagine), Manuale d'uso e manutenzione (40 pagine), Manuale d'uso e manutenzione (40 pagine), Dimensioni e informazioni sull'installazione (1 pagine), Manuale delle dimensioni (2 pagine), Manuale d'uso e manutenzione (40 pagine), Manuale d'uso e manutenzione (48 pagine), Manuale d'uso e manutenzione (40 pagine), Manuale d'uso e manutenzione (40 pagine), Manuale d'uso e manutenzione (40 pagine), Manuale d'uso e manutenzione (44 pagine), Manuale d'uso e manutenzione (19 pagine), Uso e cura Gude (44 pagine), Manuale d'uso e manutenzione (44 pagine)
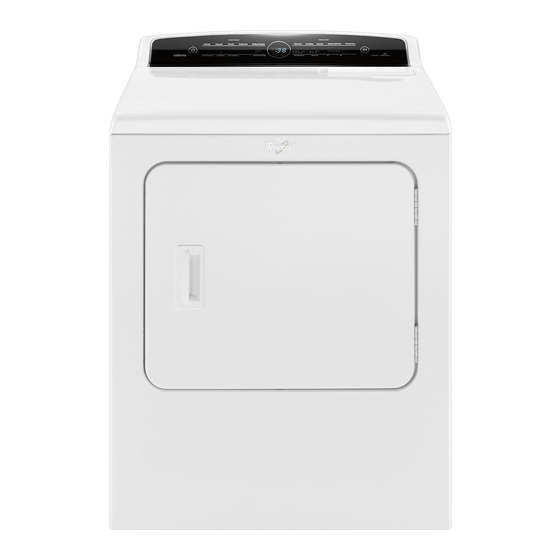
Whirlpool Cabrio,- WED7300X Manuale d'uso e manutenzione

Vacation, Storage, and Moving Care

Install and store your dryer where it will not freeze. Because some
water may stay in the hoses, freezing can damage your dryer. If
storing or moving your dryer during freezing weather, winterize it.
Vacation or Storage Care
Operate your dryer only when you are at home. If you will be on
vacation or not using your dryer for an extended period of time,
you should:
1. Unplug dryer or disconnect power.
2. Gas Models: Close shutoff valve in gas supply line.
3. Clean lint screen. See "Cleaning the Lint Screen."
4. Steam Models Only: Turn off the water supply to the dryer.
This helps to avoid unintended flooding (due to a water
pressure surge) while you are away.
Moving care
For power supply cord-connected dryers:
1. Unplug the power supply cord.
2. Steam models only: Shut off water faucet.
3. Steam models only: Disconnect the water inlet hose from
faucet, then drain the hose. Transport hose separately.
4. Make sure leveling legs are secure in dryer base.
5. Use masking tape to secure dryer door.
For direct-wired dryers:
WARNING
Electrical Shock Hazard
Disconnect power before servicing.
Replace all parts and panels before operating.
Failure to do so can result in death or electrical shock.
1. Disconnect power.
2. Disconnect wiring.
3. Steam models only: Shut off water faucet.
4. Steam models only: Disconnect the water inlet hose from
faucet, then drain the hose. Transport hose separately.
5. Make sure leveling legs are secure in dryer base.
6. Use masking tape to secure dryer door.
Reinstalling the dryer
Follow the "Installation Instructions" to locate, level, and connect
the dryer.

Special Instructions for Steam Models

Water Inlet Hoses
Replace inlet hoses and hose screen after 5 years of use to
reduce the risk of hose failure. Periodically inspect and replace
inlet hoses if bulges, kinks, cuts, wear, or leaks are found.
When replacing your inlet hoses, record the date of replacement.
To winterize dryer
1. Unplug dryer or disconnect power.
2. Shut off water faucet.
3. Disconnect water inlet hose from faucet and drain.
To use dryer again
1. Flush water pipes. Reconnect water inlet hose to faucet. Turn
on water faucet.
2. Plug in dryer or reconnect power.

Changing the Drum Light

The dryer light automatically turns on inside the dryer drum when
you open the door.
To change the drum light
1. Unplug dryer or disconnect power.
2. Open the dryer door. Locate the light bulb cover on the back
wall of the dryer. Remove the screw located in the lower right
corner of the cover. Remove the cover.
3. Turn bulb counterclockwise. Replace the bulb with a
10-watt appliance bulb only. Replace the cover and
secure with the screw.
4. Plug in dryer or reconnect power.
NOTE: On some models, an LED drum light is used. The LED
lights should not require changing; however, if replacement is
needed, please contact a qualified person.
11