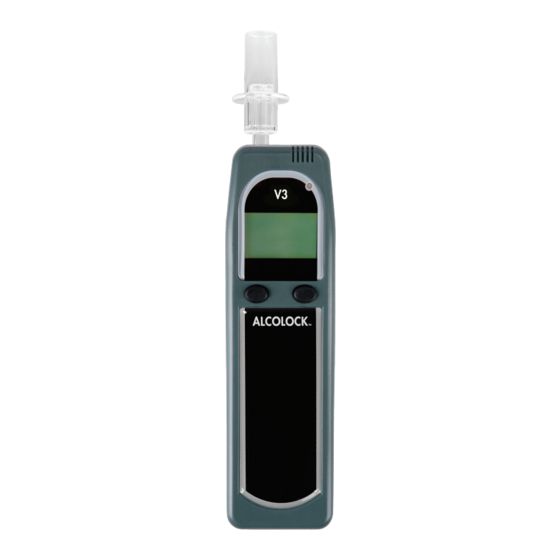
Alcolock V3 Manuale di installazione - Pagina 4
Sfoglia online o scarica il pdf Manuale di installazione per Apparecchiature di prova Alcolock V3. Alcolock V3 8. Series b-2, 12v & 24v ecu

ECU INSTALLATION
MOUNTING THE ECU
1.
To install the ECU, locate an easily accessible area that does not obstruct the normal
operation of the vehicle (preferably under the dashboard to the right of the driver's side of the
vehicle).
2.
Mount the ECU with the wiring harness connector opening facing downwards (so that the
open part of the ECU case would be facing down).
NOTE: Position the ECU as to not interfere with the normal operation of the
vehicle.
3.
To mount the ECU to the vehicle use hook and loop tape, tie wraps or
screws.
4.
If hook and loop tape is used to mount the ECU, attach the loop half to the
back of the ECU, and attach the hook half to the vehicle. If tie wraps are
used, put them through the screw holes of the ECU case. If screws are
used, try to use existing holes to avoid any modifications to the vehicle.
CONNECTING THE ECU WIRING HARNESS
The ECU wiring harness consists of 12 coloured wires. Only 8 of these wires
are required to be connected to specific points in the vehicle's wiring system
(see table). 4 wires are used to connect optional accessories.
1.
Prepare the ECU wire harness by stripping all wires 2 to 4 cm, and apply
heat shrink tubing to all wires except the red, black and white wires.
2.
Solder the terminal ring to the black ground wire in the wiring harness.
Connect to a ground point with the metal crimp ring and nut provided.
NOTE: The ground connection is made first to prevent any damage to the ECU.
3.
Using the multimeter, locate a continuous unswitched +12 or +24 volt source in the vehicle's
main harness. Test the source in all ignition states including Start and Accessory. The +12
or +24 volts must be present in all states. Connect the red wire in the wiring harness to this
source (follow next two steps for instructions).
NOTE: This source should be connected to a source with a 10A fuse.
4.
Locate a section of the +12 or +24 volt source wire that is close to the vehicle's fuse box.
Using the wire strippers, expose a 2 cm section of the wire (see diagram).
5.
Twist the exposed end of the red wire in the wiring harness to the exposed section of the
source wire.
6.
Using the multimeter, locate a +12 or +24 volt source in the vehicle's main harness that is
present only when the ignition is in the Start and On state (not the Accessory state). The
white wire in the wiring harness is connected to this source.
7.
Using the wire strippers, expose a 2 cm section of the wire. Twist the exposed end of the
white wire in the wiring harness to the exposed section of the source wire.
2
Strip 2 cm
+12 or +24 volt source wire
Red wire
Twist
ALCOLOCK V3 SERIES B-2
