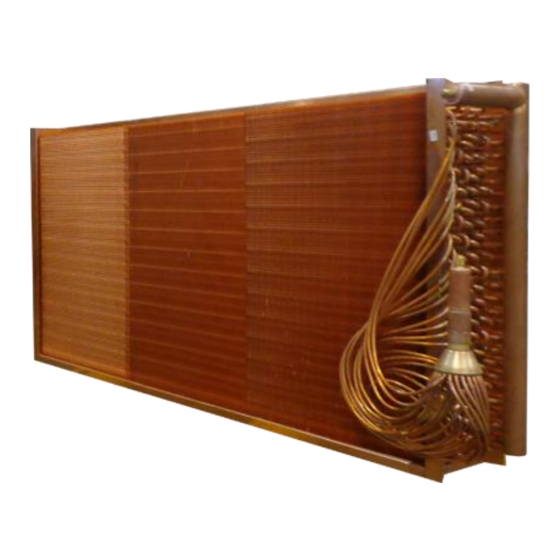
DIRECT COIL REFRIGERANT COILS Manuale d'installazione e d'uso - Pagina 4
Sfoglia online o scarica il pdf Manuale d'installazione e d'uso per Sistema idrico DIRECT COIL REFRIGERANT COILS. DIRECT COIL REFRIGERANT COILS 8.

Installation
Receiving
1. The coils should be carefully inspected for shipping
damage upon receipt
2. The freight BOL should also be checked against items
received for complete delivery
3. Any shortage or damage should be noted on the
delivery receipt; doing this lets the courier know that
you intend to file a claim
If any shortage or damage is discovered after unpacking
the unit, call the courier for a concealed damage or
shortage inspection. For additional assistance, contact
your Direct Coil representative.
Installation
1. Remove the coil from the shipping container and
avoid damaging the fins. Any bends can be
straightened using the appropriate equipment
2. It is recommended to clean the coil using an industrial
coil cleaner before installation
3. The DX coil(s) should be mounted level, with tubes in
a horizontal orientation. Airflow can be horizontal or
vertical
4. The distributor should be inspected to verify that the
nozzle is in place
5. Proper functioning of the thermostatic expansion
valve function is critical for DX coil performance. It is
recommended
to
manufacturer's instructions when installing the valve
6. The suction line should be connected to the suction
connection, and liquid to the expansion valve.
Connecting in any other configuration will impact
performance
7. Ensure that clearance is given between the coil and
any surrounding structures
8. The coil should be completely leak free prior to
commissioning. Pressure test the coil, expansion
valve assembly and suction connection to 100 psi
with dry nitrogen
9. The coil should be left pressurized for a minimum of
30 minutes with no loss of pressure. Thoroughly leak
test the coil and system including all brazed joints
10. It is important follow proper methods for evacuating
and charging systems with refrigerant. Use the
compressor manufacturer's recommendations for
charging the system with refrigerant and starting the
For more information on Direct Coil products call (613) 544 2200 | 5055 Taylor Kidd Blvd, Millhaven, Ontario K0H 1G0
carefully
follow
the
compressor. After the system is started, adjust TXV
superheat following TXV manufacturer's directions
All pipe brazing must be done using high quality materials
and must be tested for leaks. Pipe sizes for the system
must be selected based on the head (pressure) available
from the circulation pump. Ensure that the drainpipe is
sized adequately.
Recommendations
1. Refrigerant piping must be done in accordance with
all applicable national and local codes, and with
accepted industry standards
Lifting Instructions
When lifting a coil, one should ensure that proper
precautions are taken, including:
-
Wearing safety equipment, such as hard-toe shoes
-
Safety gloves
One should also lift while maintaining proper posture, as
refrigerant coils are heavy and improper procedure could
cause harm.
NEVER LIFT A COIL BY THE HEADER, CIRCUITS,
OR CONNECTIONS.
1. Any coil that is 45 pounds or heavier will have two
removeable lifting brackets. Use only these when
lifting the coil
TXV
2. When lifting a coil, lifting should be done by the legs
and the coil kept close to the center of gravity
3. If the coil is too heavy, find help and perform an
assisted lift
Piping
This section is a guide for the correct installation of the
refrigerant fluid piping system; however, Direct Coil is not
responsible for the installation of the piping.
1. After both lines are connected, the entire system must
be leak tested (see 'First Use'). Care should be given
to those parts which will be inaccessible in future
dates.
2. The header, pipes, and brazed joints should not be
used to support any loads or weight
3. Ensure that all field piping is self-supporting and can
accommodate thermal expansion and contraction (of
the coil)
www.directcoil.com
3
