Xerox WORKCENTRE 5755 Manuale introduttivo - Pagina 10

Sfoglia online o scarica il pdf Manuale introduttivo per Stampante Xerox WORKCENTRE 5755. Xerox WORKCENTRE 5755 32. Smart card
Anche per Xerox WORKCENTRE 5755: Manuale informativo (50 pagine), Scheda tecnica (18 pagine), Opuscolo e specifiche (8 pagine), Installazione e funzionamento sicuri (11 pagine), Manuale d'uso (8 pagine), Istruzioni per l'utente (4 pagine), Come fare una copia (10 pagine), Manuale di installazione (43 pagine)
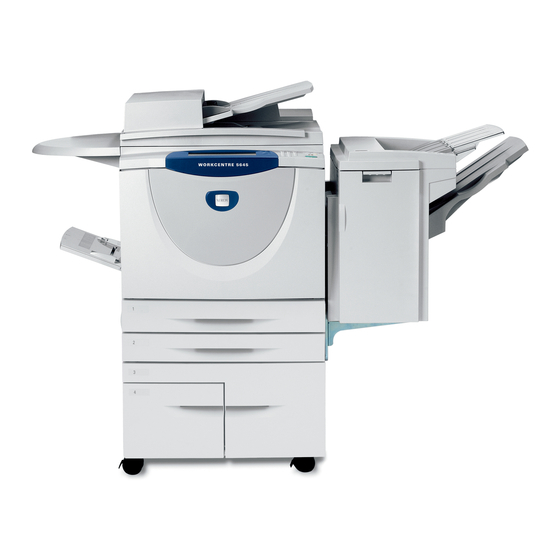
Xerox WORKCENTRE 5755 Manuale introduttivo

Control Panel Overview

Control Panel Overview
Services Home: Provides access to the services
1
available on the device.
Services: Returns the display to the previous
2
copy, fax, or scan feature screen when the Job
Status screen or Machine Status screen is
displayed.
Job Status: Use to check the progress of active
3
jobs, or display detailed information about
completed jobs.
Machine Status: Use to check the device status,
4
the billing meters, the status of consumables, or
print the user documentation and reports. Use
this button also when accessing the Tools mode.
Touch Screen: Use to select programing features
5
and display fault clearance procedures and
general device information.
Log In/Out: Use to enter log in details, and to log
6
out.
Numeric Keypad: Use to enter alphanumeric
7
characters.
Help: Displays help messages for device features.
8
16
WorkCentre™ 5735/5740/5745/5755/5765/5775/5790
Getting Started
1
2
5
3
4
8
6
7
15
16
Interrupt Printing: Use to pause the job which is
9
currently printing, to run a more urgent copy job.
Start: Use to start a job.
10
Clear All: Press once to clear a current entry.
11
Press twice to return to default settings.
Stop: Stops the job in progress.
12
Energy Saver: Use to select energy saver mode,
13
perform a quick restart or to power down the
device.
Language: Use to select a different language for
14
the touch screen options.
Dial Pause: Use to insert a pause when dialing a
15
fax number.
'C' Cancel Entry: Cancels the previous entry
16
made on the Numeric Keypad.
13
14
11
9
12
10